Learn Yoga Poses: A Beginner's Complete 2026 Guide
Heather Rice

TL;DR:
Mastering 12 to 15 foundational yoga poses builds strength, flexibility, and calm for beginners. Consistent practice with correct alignment and steady breath prevents injuries and fosters progress. Guidance from a qualified instructor enhances safety and helps develop a lasting, effective yoga routine.
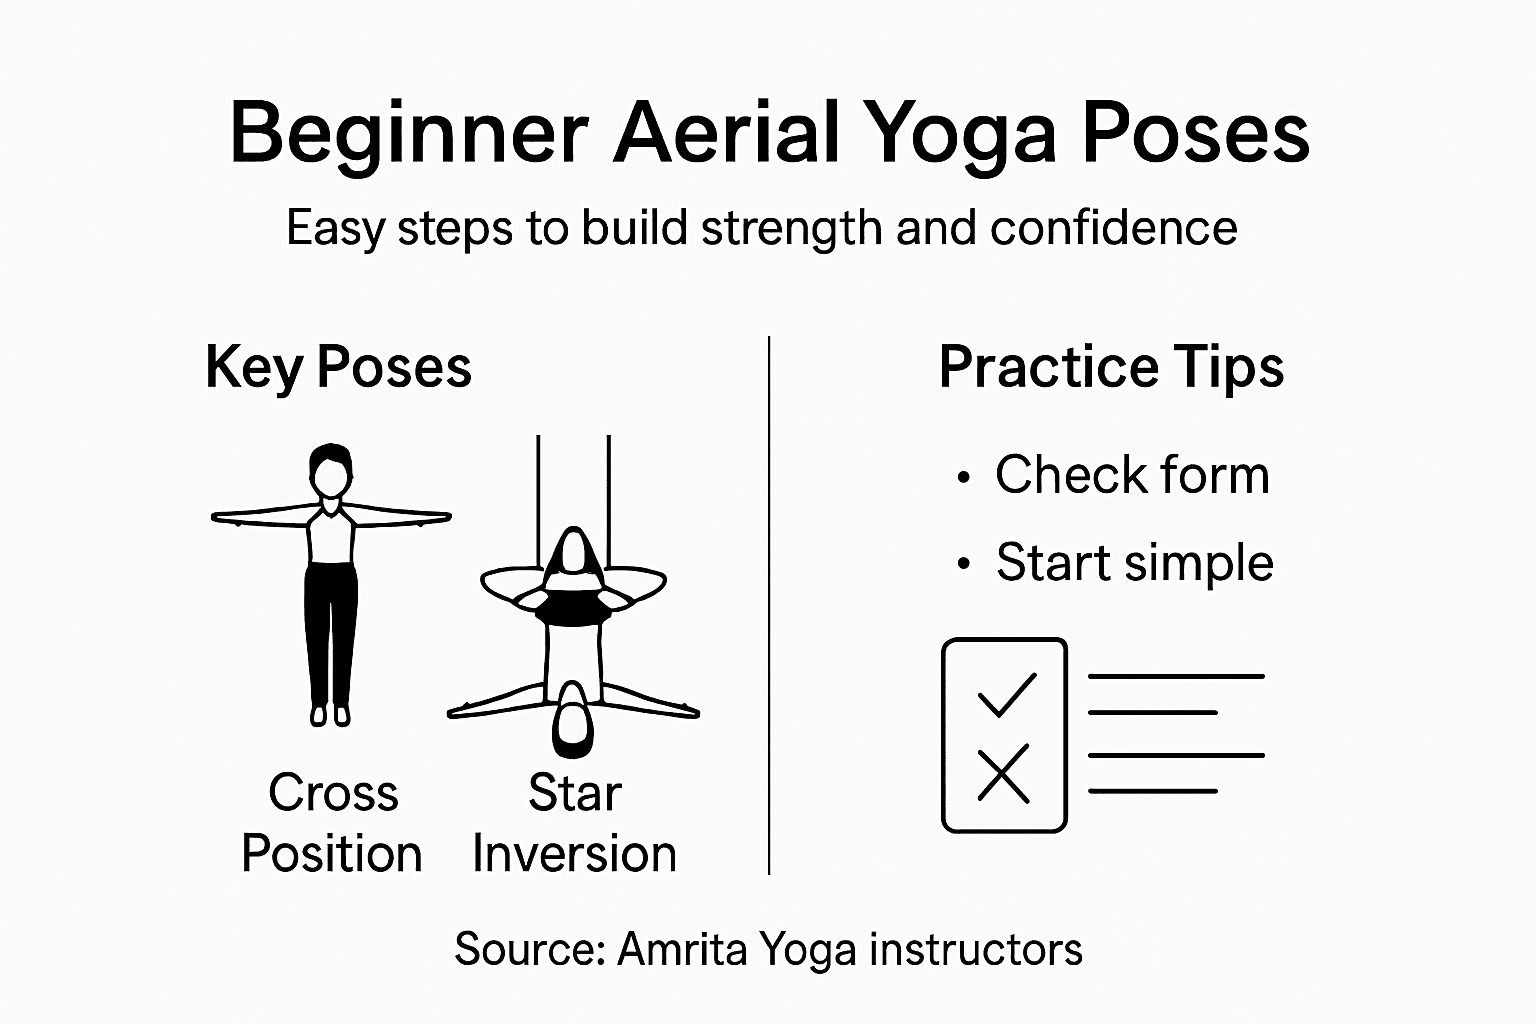
Learning yoga poses means mastering a set of foundational asanas, the Sanskrit term for body postures, that build strength, flexibility, balance, and calm through mindful movement and breath. These postures are not just exercise. They are a structured physical practice with clear alignment rules, breath cues, and progression paths that make them safe for nearly any body. Yoga experts recommend beginners start with 12–15 foundational postures representing major movement categories: standing, backbends, twists, seated, hip openers, and relaxation poses. Amritayogawellness, based in Philadelphia, teaches exactly this kind of structured, accessible approach to help practitioners at every level build a real practice.
What are the essential yoga poses beginners should learn first?
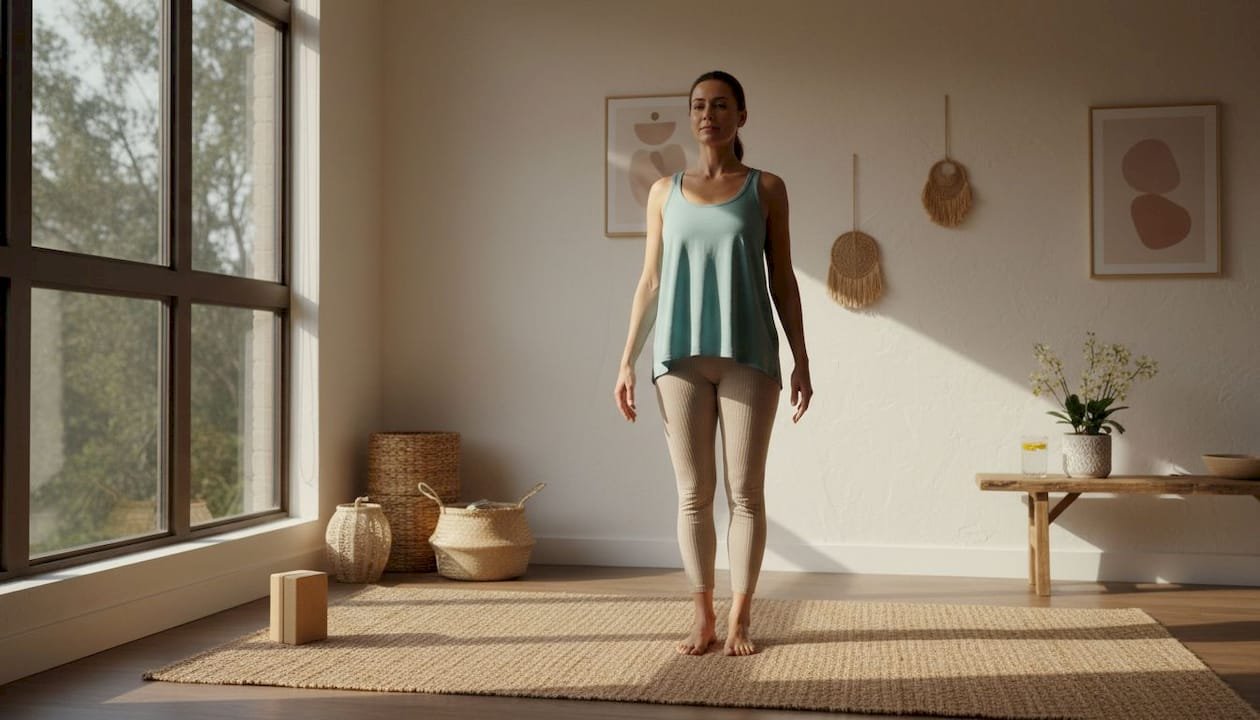
The best place to learn yoga poses is with a short list of core postures that cover every major movement pattern. Mountain Pose (Tadasana) is the foundational standing pose and the reset point for your entire practice. It aligns the spine, engages the core, and calms the breath. Every other standing pose grows from it.
Here are the core beginner postures organized by category:
Standing poses
Mountain Pose (Tadasana): stand tall, feet together, arms at sides, spine long
Warrior I (Virabhadrasana I): front knee bent, back leg straight, arms overhead
Warrior II (Virabhadrasana II): arms open wide, gaze over front hand
Triangle Pose (Trikonasana): legs straight, torso long, one hand reaching down
Backbends
Cobra Pose (Bhujangasana): lie face down, press palms into mat, lift chest gently
Bridge Pose (Setu Bandhasana): lie on back, feet flat, lift hips toward ceiling
Twists and hip openers
Seated Spinal Twist (Ardha Matsyendrasana): sit tall, rotate torso, keep spine long
Low Lunge (Anjaneyasana): front knee over ankle, back knee down, hips square
Seated and floor poses
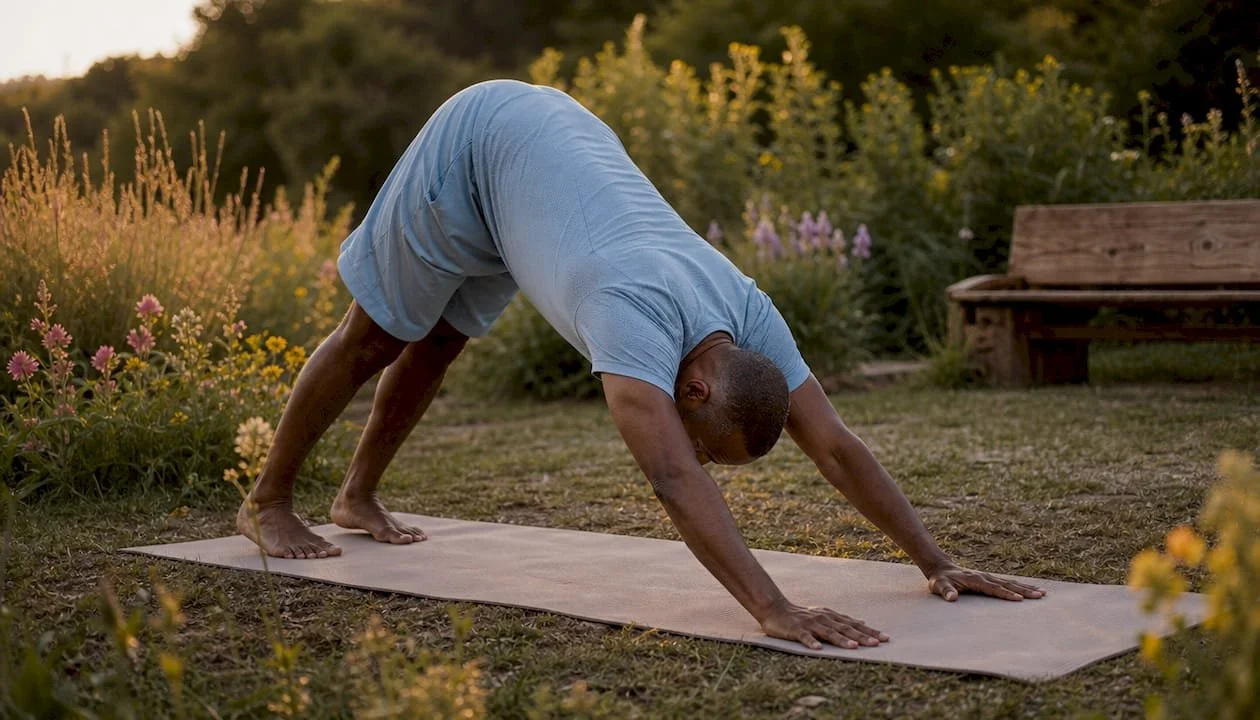
Downward Facing Dog (Adho Mukha Svanasana): inverted V shape, heels pressing toward floor
Child's Pose (Balasana): kneel, fold forward, arms extended or alongside body
Relaxation
Corpse Pose (Savasana): lie flat on your back, eyes closed, body completely still
Child's Pose and Corpse Pose are not optional extras. They are recovery tools built into every session. Child's Pose resets your nervous system mid-practice. Savasana at the end allows your body to absorb the work you just did.
Pro Tip: Every time you feel lost or overwhelmed during a session, return to Mountain Pose. It recalibrates your posture and breath in under 30 seconds.
What equipment and preparation do you need to start?
A yoga mat is the only essential piece of equipment for beginners practicing at home. No specialized props are required to get started. That said, a few optional tools make early practice more comfortable and safe.
| Item | Purpose | Required? |
|---|---|---|
| Yoga mat | Grip, cushion, and defined space | Yes |
| Yoga blocks (2) | Bring the floor closer in standing poses | Optional |
| Yoga strap | Extend reach in seated stretches | Optional |
| Blanket | Extra cushion under knees or hips | Optional |
| Comfortable clothes | Allow full range of motion | Yes |
Beyond gear, your environment matters. Choose a quiet space with enough room to extend your arms and legs fully in all directions. Turn off notifications. Keep water nearby. A consistent spot in your home trains your brain to shift into practice mode faster each time you show up.
Warm up for 3–5 minutes before your first pose. Simple neck rolls, shoulder circles, and gentle spinal movements prepare your joints and reduce the risk of strain.
How to learn yoga poses effectively and safely
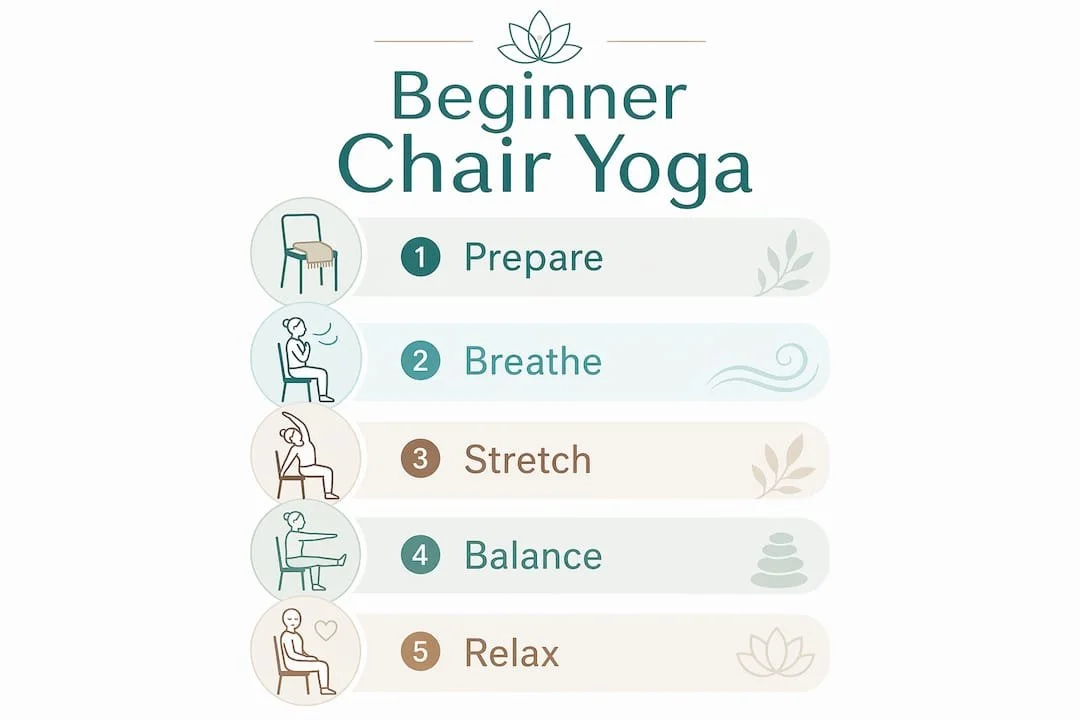
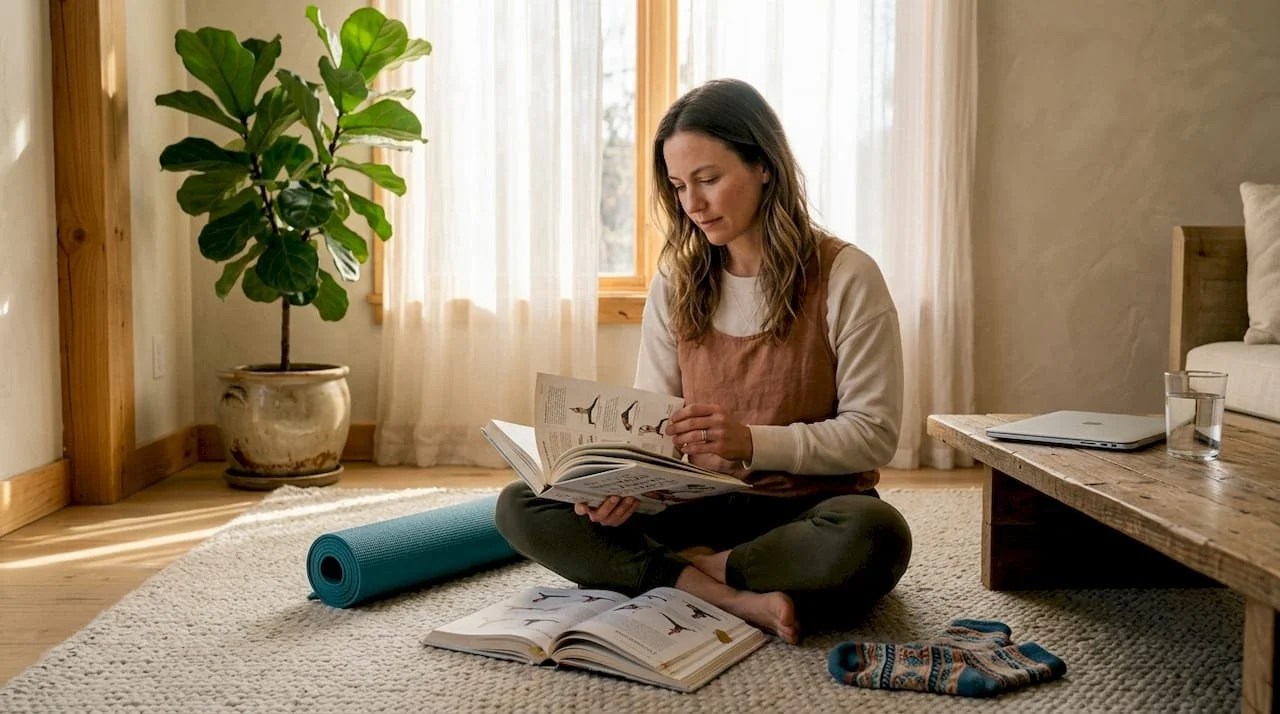
Structured sequences are safer and more effective than randomly picking poses from social media. Random selection skips the logical progression that protects your joints and builds strength in the right order. A structured approach looks like this:
Start with relaxation. Begin in Mountain Pose or a simple seated position. Take 5 slow breaths to arrive in your body before moving.
Learn the entry of each pose first. Know how to get into a pose before you think about going deeper. Rushing depth before stability causes most beginner injuries.
Establish your foundation. Press your feet, sitting bones, or hands firmly into the mat before activating any other muscle group. Pressing down the foundation before engaging other muscles is the single most important alignment principle in yoga.
Build alignment from the ground up. Once your foundation is set, work upward: ankles, knees, hips, spine, shoulders, head. Never skip a layer.
Hold for 3–5 breaths. Holding poses for 3 to 5 breaths maintains stability without risking injury. Count breaths, not seconds.
Exit with control. Come out of each pose as deliberately as you entered it. Collapsing out of a pose undoes the alignment work you just built.
Rest between effort. Return to Mountain Pose or Child's Pose between challenging postures. Your nervous system needs those moments.
Maintaining calm, even breath through a hold matters more than deepening the pose. If your breath becomes ragged or stops, reduce the intensity until breathing is steady again. Breath is the real measure of whether a pose is working for you.
Iyengar yoga is particularly well suited for beginners because it focuses on detailed alignment and uses props extensively. If you want a style that teaches you exactly how each pose should feel in your body, Iyengar classes are worth exploring.
Pro Tip: Record yourself in a pose with your phone once a week. What you feel and what you look like are often very different. Video feedback replaces the mirror a studio instructor would provide.
Check out these beginner yoga tips from Amritayogawellness for more on building a structured home practice.
Common mistakes beginners make and how to avoid them
Most beginner injuries and plateaus come from a short list of repeatable errors. Knowing them in advance puts you ahead of the curve.
Ignoring the foundation. Improper weight stacking and failing to engage the foundation causes joint strain in knees, wrists, and lower back. Press down before you lift up, every time.
Holding your breath. Stopping the breath during challenging holds reduces the effectiveness of the pose and raises injury risk. If you cannot breathe steadily, back out of the pose slightly.
Chasing advanced poses too soon. Arm balances and deep backbends require months of foundational work. Attempting them from week one based on an online image is the fastest route to a shoulder or wrist injury.
Skipping rest poses. Child's Pose and Savasana are not signs of weakness. They are built-in recovery that makes the harder poses possible.
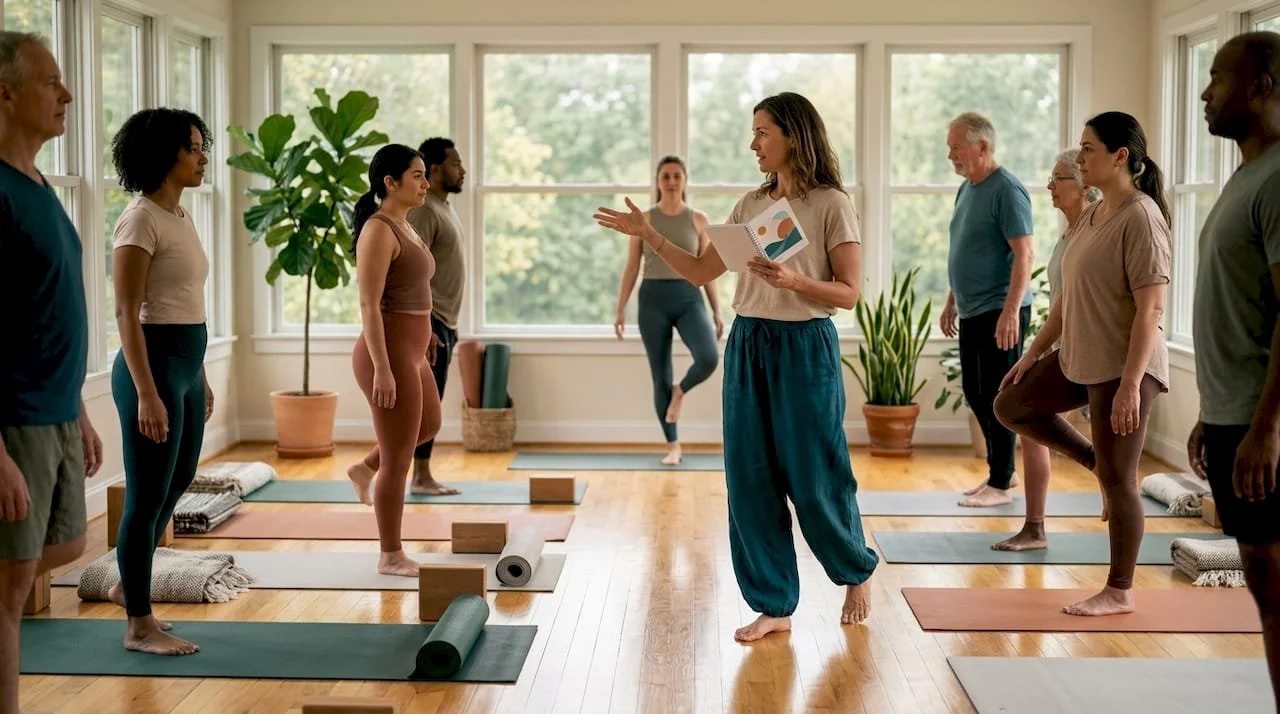
Practicing without any instruction. Following a random video without understanding alignment cues is like learning to drive from watching car commercials. Structured guidance from a qualified teacher changes the quality of your practice immediately.
The single most overlooked mistake is breath suppression. Beginners focus so hard on the shape of a pose that they forget to breathe. Breath is not a side effect of yoga. It is the practice itself.
For a deeper look at foundational postures and how to approach them safely, Amritayogawellness has a dedicated guide worth reading before your first session.
How to build a beginner yoga routine using core poses
A consistent routine beats an occasional intense session every time. Sandwiching strenuous movement between guided relaxation, starting and ending with Mountain Pose and Corpse Pose, builds a mental association between yoga and calm. That association keeps you coming back.
Here is a sample 30-minute beginner sequence:
Mountain Pose (Tadasana) — 5 breaths, set intention
Child's Pose (Balasana) — 5 breaths, open hips and spine
Downward Facing Dog — 5 breaths, full body stretch
Low Lunge (right side) — 5 breaths, hip flexor opener
Low Lunge (left side) — 5 breaths
Warrior I (right side) — 5 breaths, standing strength
Warrior I (left side) — 5 breaths
Triangle Pose (both sides) — 5 breaths each
Bridge Pose — 5 breaths, gentle backbend
Seated Spinal Twist (both sides) — 5 breaths each
Child's Pose — 5 breaths, cool down
Corpse Pose (Savasana) — 3–5 minutes, full rest
| Session phase | Poses | Duration |
|---|---|---|
| Opening and grounding | Mountain Pose, Child's Pose | 3–5 minutes |
| Active standing work | Warriors, Triangle, Lunge | 12–15 minutes |
| Floor and backbend work | Bridge, Twist, Dog | 8–10 minutes |
| Closing relaxation | Child's Pose, Savasana | 5–7 minutes |
Adapt this sequence as your strength and flexibility grow. Add one new pose per week rather than overhauling the entire routine. Consistency with a short sequence beats variety with no depth. Aim for three sessions per week to start. Your body needs recovery time between sessions, especially in the first month.

Explore these basic yoga poses from Amritayogawellness to see how Mountain Pose anchors a full beginner sequence.
Key Takeaways
The most effective way to learn yoga poses is to start with 12–15 foundational postures, build alignment from the ground up, and prioritize steady breath over pose depth at every stage.
| Point | Details |
|---|---|
| Start with core postures | Begin with 12–15 foundational poses across standing, backbend, twist, and relaxation categories. |
| Foundation first | Press feet or sitting bones into the mat before engaging any other muscle group. |
| Breath over depth | If your breath stops, reduce the pose intensity until steady breathing returns. |
| Hold for 3–5 breaths | This standard hold time builds stability without overloading joints or muscles. |
| Structure beats random selection | A planned sequence protects alignment and prevents the injuries that random pose picking causes. |
What I've learned from years of watching beginners practice
The most common thing I see in new practitioners is the rush. People want Warrior III in week two. They want the splits by month one. And every time that rush shows up, so does the injury, the frustration, and the dropout.
The practitioners who stay are the ones who fall in love with Mountain Pose. That sounds almost absurd, but it's true. When you understand what Tadasana is actually asking of your body, every other pose makes more sense. The alignment principles stack. The breath becomes natural. The harder poses arrive on their own timeline.
Breath is the part most people skip in their reading and most instructors underemphasize in beginner classes. If you take one thing from this guide, let it be this: your breath is the quality control system for your entire practice. The moment it becomes labored or stops, your pose is too deep. Back out. Breathe. Try again.
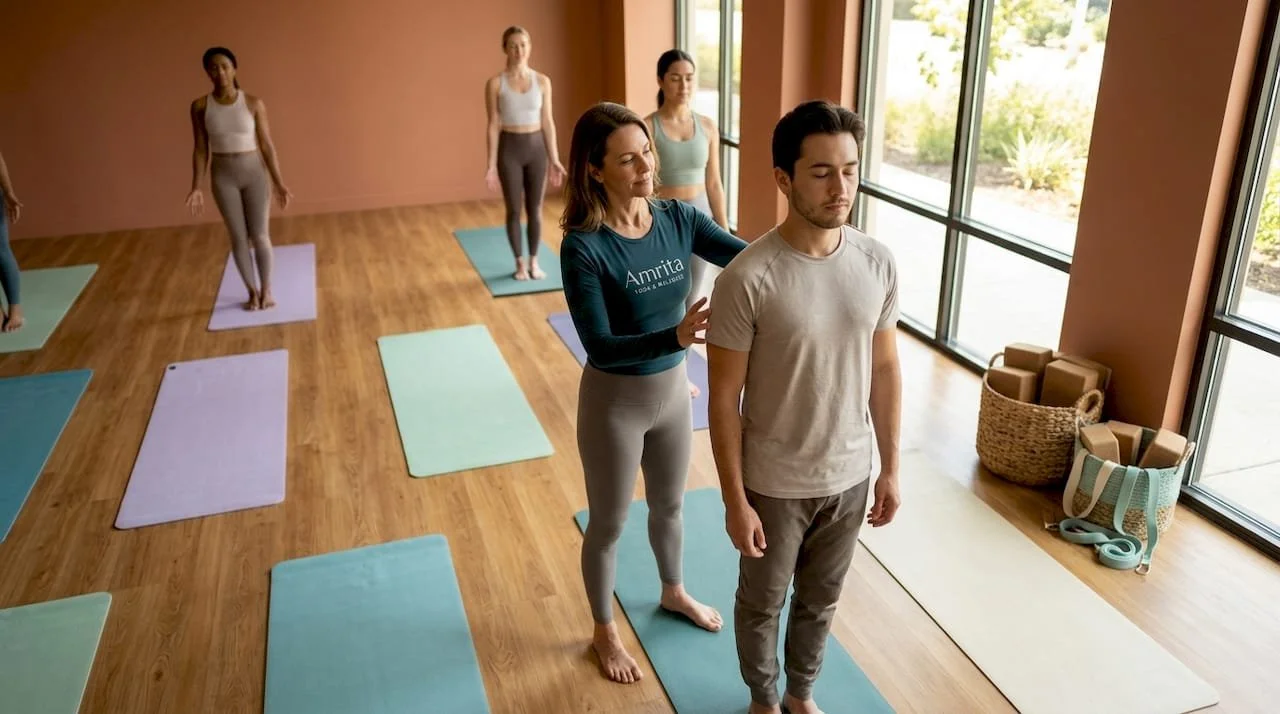
Structured instruction matters more than equipment, more than the style of mat you buy, and more than how flexible you are on day one. A free beginner yoga class with a qualified teacher gives you alignment feedback that no video can replicate. Seek that out early. It compresses months of solo trial and error into a single session.
Patience is not a soft skill in yoga. It is a technical requirement.
— Juiced
Amritayogawellness: where beginners build real practice
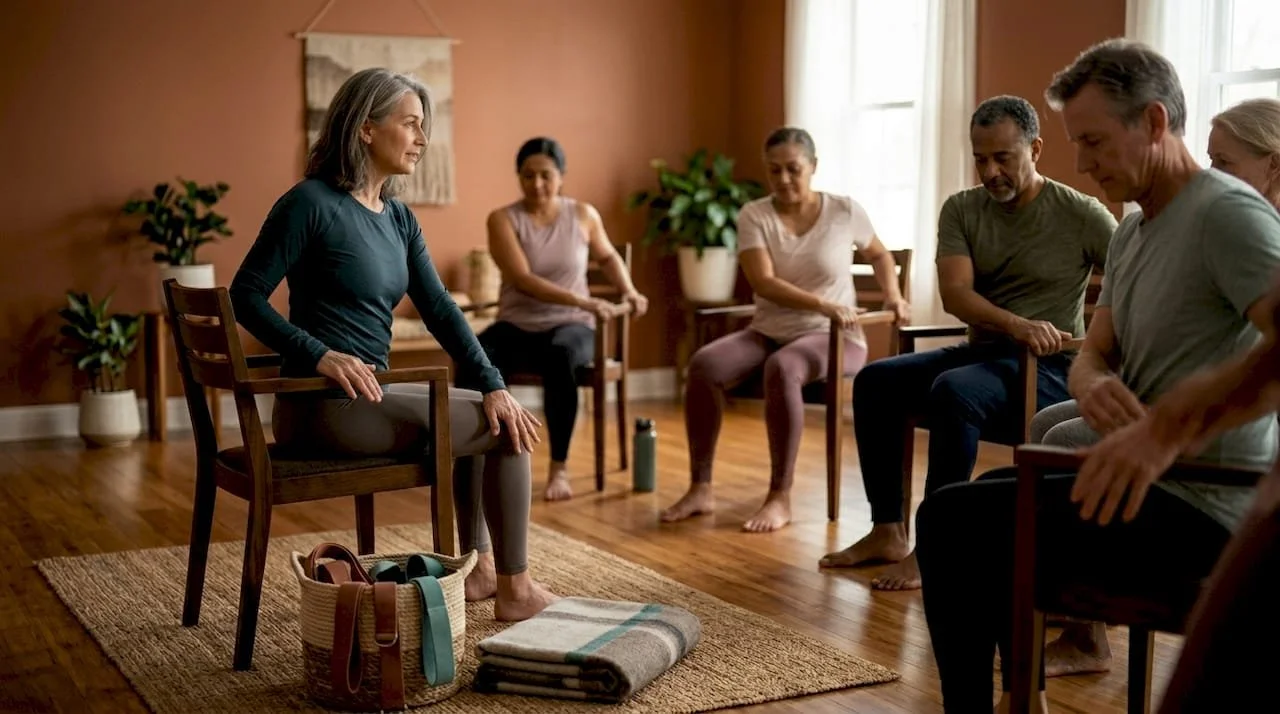
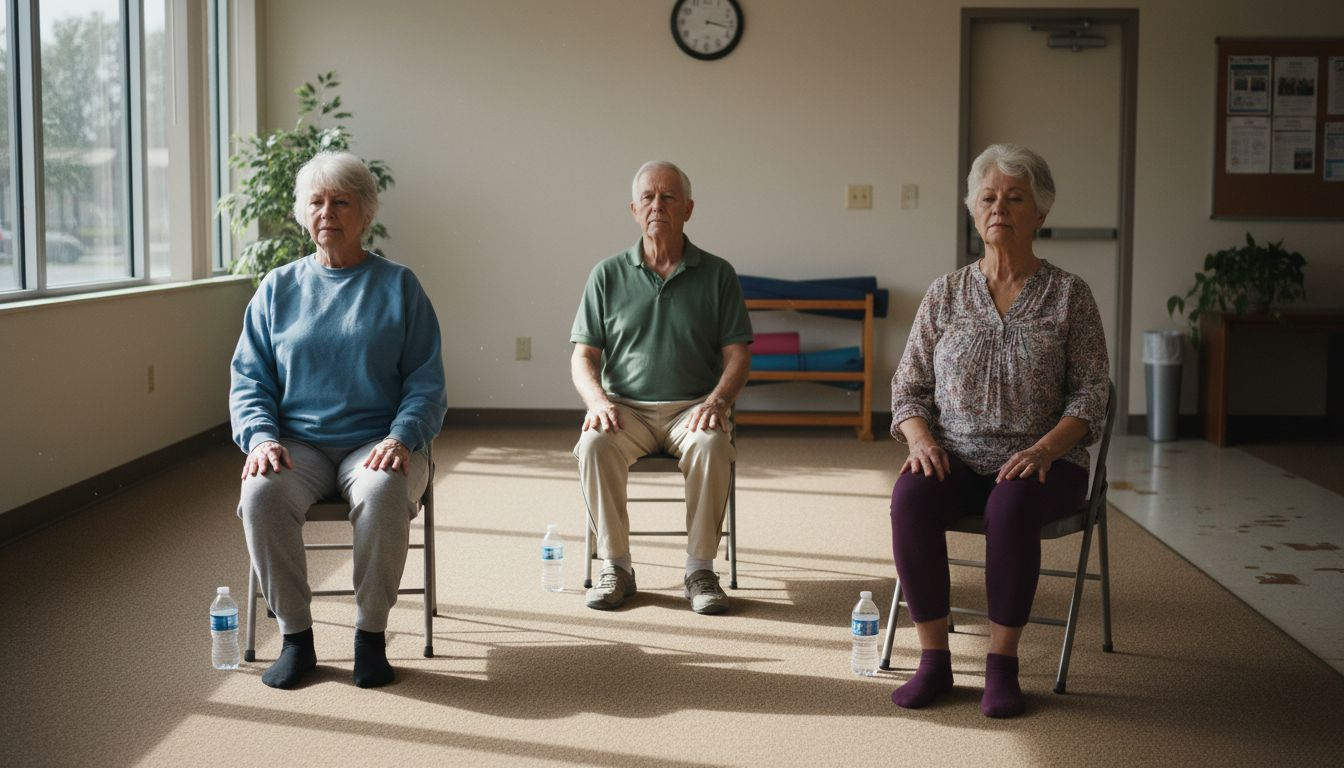
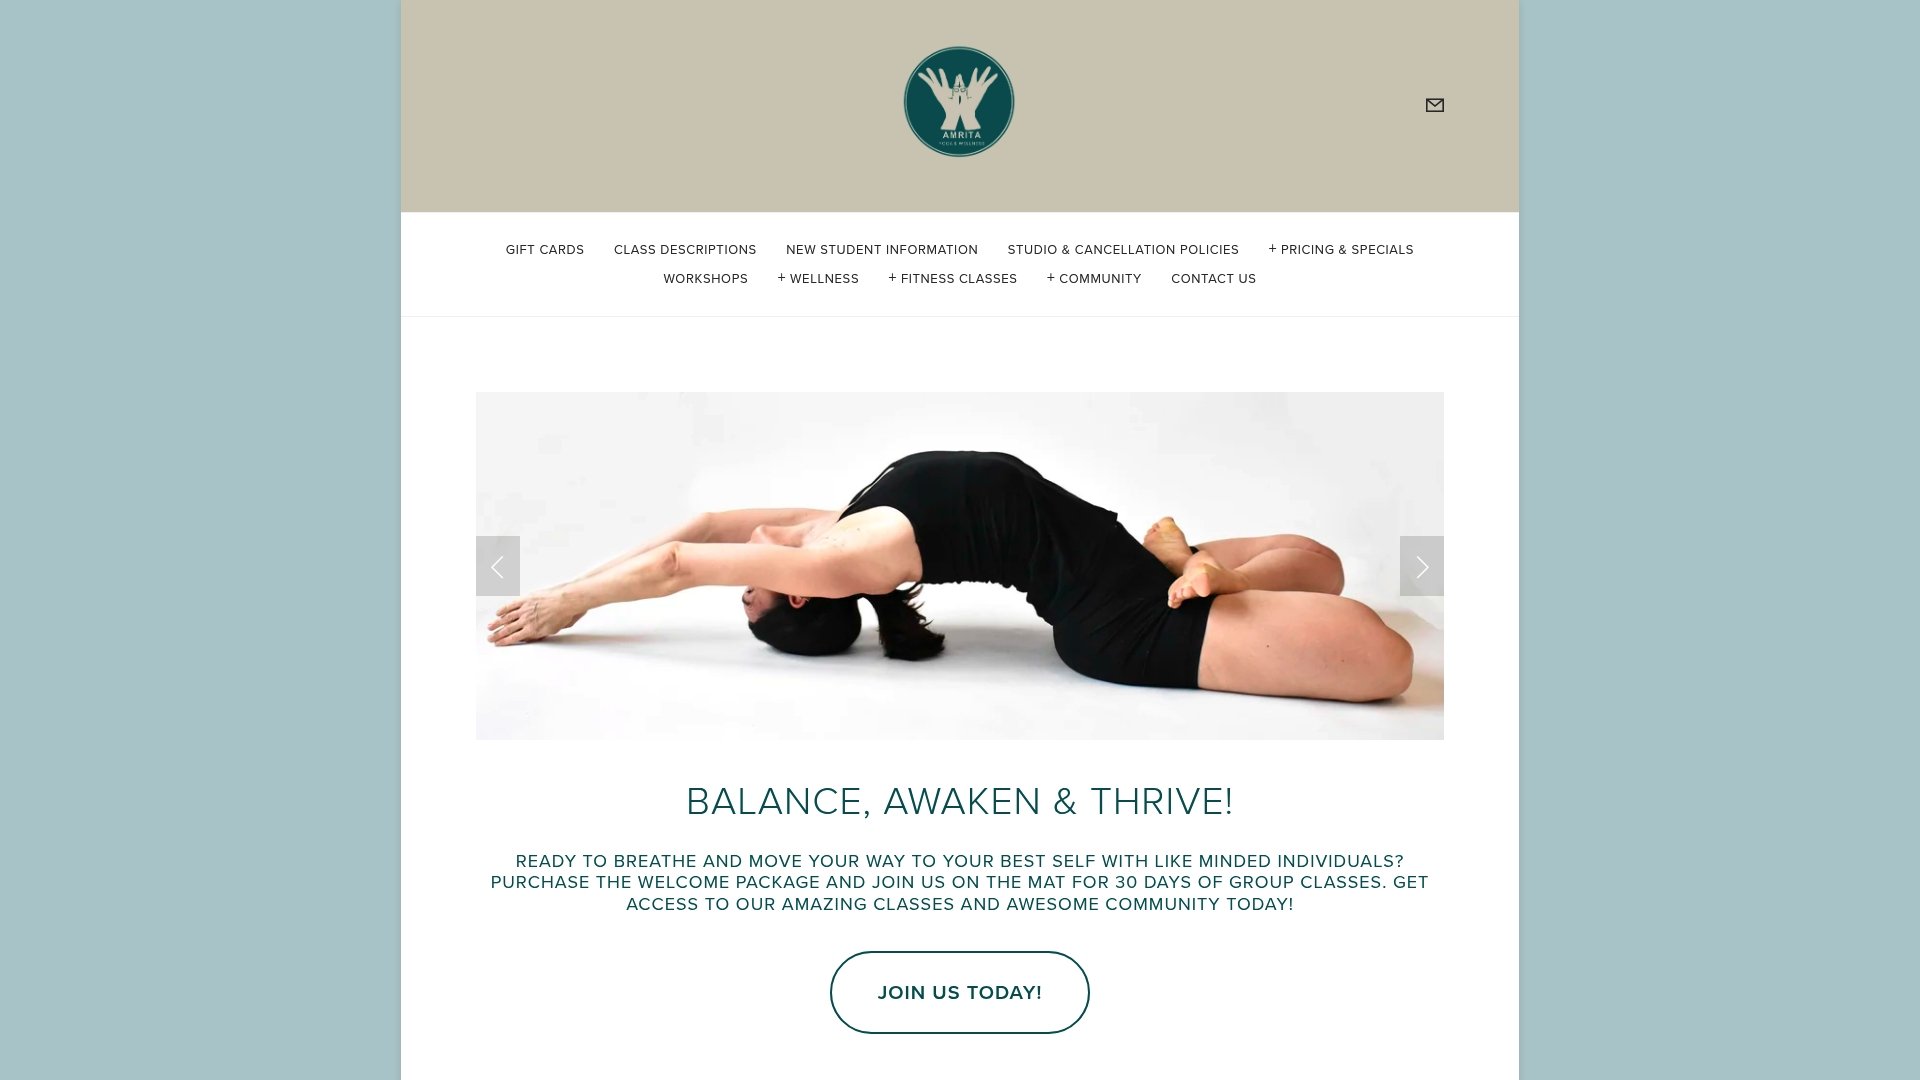
Amritayogawellness offers beginner-focused classes in Philadelphia designed around exactly the foundational approach this guide describes. Structured sequences, expert alignment cues, and a welcoming community make it easier to build consistency from your very first session.

The studio's beginner yoga classes cover standing poses, breath work, and relaxation in a format that keeps new practitioners safe and engaged. For those looking to complement their physical practice with mindfulness and reflection, Amritayogawellness also offers tarot readings as part of its broader wellness programming. Whether you are stepping onto a mat for the first time or returning after a long break, Amritayogawellness gives you the structure and support to make it stick.
FAQ
What yoga poses should a complete beginner learn first?
Beginners should start with Mountain Pose, Child's Pose, Downward Facing Dog, Warrior I, and Corpse Pose. These five postures cover the core movement patterns and give you a complete, safe practice from day one.
How long should beginners hold each yoga pose?
Hold each pose for 3 to 5 breaths. This standard hold time builds stability and alignment without overloading muscles or joints.
Do I need special equipment to start learning yoga at home?
A yoga mat is the only required piece of equipment. Blocks and straps are helpful but optional, and most beginner poses work fine without them.
How often should beginners practice yoga poses?
Three sessions per week is a strong starting point. Your body needs recovery time between sessions, especially in the first four to six weeks of practice.
Why is breath so important when learning yoga poses?
Holding your breath during poses reduces effectiveness and raises injury risk. Steady breath is the clearest signal that your body is working with the pose rather than fighting it.