Easy Aerial Yoga Poses for Beginners: Step-by-Step Guide
Heather Rice
Trying something new for your well-being can be exciting but also a little daunting, especially when it comes to aerial yoga. Many adults in Philadelphia are searching for accessible ways to move, build strength, and manage daily stress, yet worry about safety and where to begin. By focusing on safe setup and easy poses, you can start your aerial yoga journey with confidence, knowing each step is designed to support both your body and peace of mind.
Table of Contents
Quick Summary
| Key Point | Explanation |
|---|---|
| 1. Ensure a Safe Setup for Aerial Yoga | Choose a location with ample clearance and robust support for the hammock to prevent injuries. |
| 2. Select Quality Hammock Carefully | Prioritize durable fabric and reliable brands to ensure safety and comfort during practice. |
| 3. Warm Up Properly Before Practicing | Engage in light movements to increase blood flow and prepare muscles for aerial yoga. |
| 4. Focus on Proper Form in Poses | Maintain alignment and relaxation in each pose to enhance strength and decrease injury risk. |
| 5. Practice Mindful Breathing Techniques | Deep breathing while holding poses promotes relaxation and stabilizes the nervous system. |
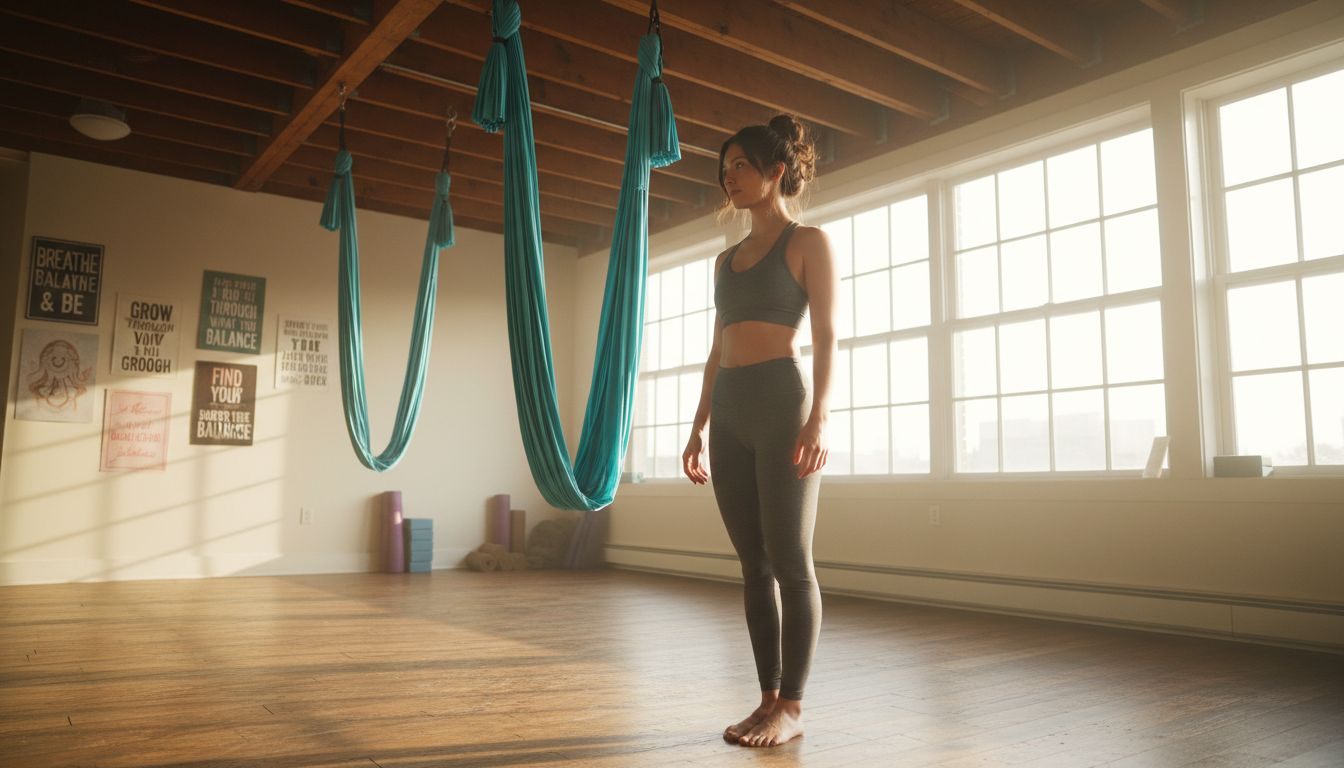
Step 1: Set Up Your Aerial Yoga Space Safely
Before you hang your first silk hammock, you need to choose the right location and prepare it properly. A safe aerial yoga setup combines the right room, proper equipment, and smart spacing to prevent injuries and build confidence as a beginner.
Start by selecting a space with adequate ceiling height and clearance. You'll want a room that's large enough to accommodate your hammock without walls or furniture creating obstacles around you.
Your location options include:
Indoor rooms with sturdy ceiling joists or beams
Doorway frames rated for the weight you'll be using
Outdoor areas with thick, healthy tree branches
Studio spaces like those at Amrita Yoga & Wellness where equipment is professionally installed
When hanging your hammock indoors, check that the ceiling can support the weight. Professional-grade rigging should handle up to 300 kilograms of force, far more than you'll ever need. If you're unsure about your ceiling's capacity, consult a contractor before installation.
Here's a quick comparison of common aerial yoga space options:
| Space Type | Installation Complexity | Safety Factors | Environment Benefits |
|---|---|---|---|
| Home room | Moderate to high | Requires ceiling evaluation | Privacy, convenience |
| Professional studio | Low (for the user) | Equipment professionally installed | Guidance from experts |
| Outdoor (tree branch) | High | Tree health and strength required | Natural atmosphere, fresh air |
| Doorway frame | Low to moderate | Weight rating critical | Compact, adaptable space |
The hammock itself needs proper support. Your rig should include support chains, webbing straps, silk material, and carabiners all securely anchored to your chosen point. These components work together to distribute your weight safely and prevent equipment failure.
Height matters for beginners. Keep the hammock suspended less than one meter above the ground. This low position builds your confidence and reduces injury risk if you slip or lose your grip while learning.
Arrange your space with movement in mind. You need clearance all around your hammock, especially when you're upside down or extending limbs. Remove furniture, yoga blocks, or anything else within arm's reach that could catch your body during practice.
A well-organized space prevents accidents before they happen. Clear the area completely and test your hammock's stability by gently pulling on it before practice.
Pro tip: Practice your first few sessions during daylight hours or with bright overhead lights so you can see your body's position clearly and build spatial awareness in the hammock.
Step 2: Select and Secure the Right Hammock
Choosing the right hammock is crucial because it directly impacts your safety, comfort, and ability to practice aerial yoga effectively. Your hammock needs to support your body weight while remaining comfortable enough for extended practice sessions.
When selecting a hammock, prioritize quality fabric and construction. Look for aerial yoga hammocks or swings specifically designed for supporting body weight safely. The fabric should be strong and comfortable, typically made from silk-like material rather than real silk, which offers better durability and easier maintenance.
Consider these factors when choosing:
Different lengths available for various heights and preferences
Color options that match your personal style and studio environment
Weight capacity ratings that exceed your body weight by a significant margin
Reputation of the manufacturer and brand reliability
Once you've selected your hammock, securing it properly is non-negotiable. Professional installation requires hardware such as support chains, carabiners, and ceiling anchors all rated to hold safe maximum weights. These components work together as a system, so don't compromise on any single piece.
When setting up, ensure every anchor point is rated for the weight it will support. Your entire rig should be able to handle far more force than your body weight alone. Always purchase from reputable sources that provide documentation of weight ratings and installation instructions.
This summary highlights key criteria when picking an aerial yoga hammock:
| Criteria | Why It Matters | Impact on Practice |
|---|---|---|
| Fabric durability | Reduces risk of tearing | Increases confidence |
| Weight capacity | Supports user safety | Allows for varied poses |
| Verified instructions | Prevents improper setup | Promotes proper installation |
| Manufacturer reputation | Indicates quality control | Ensures reliable performance |
Before your first practice, test the hammock thoroughly. Pull down on it with significant force while holding onto something stable, checking for any movement or instability in the rigging. The hammock should feel completely secure and immobile.
Quality equipment prevents injuries and builds confidence. Invest in professional-grade components and follow manufacturer guidelines precisely during installation.
Pro tip: Start with a standard length hammock in a neutral color like purple or blue, which works well in most studio spaces and won't limit your options if you move your practice location later.
Step 3: Warm Up Your Body Gently
Before you enter the hammock, your body needs preparation to move safely and comfortably. A proper warm-up increases blood flow, raises body temperature, and prepares your muscles for the unique demands of aerial yoga.
Start with 5 to 10 minutes of light movement. This timeframe gives your cardiovascular system a chance to activate without exhausting you before practice begins. Begin with simple activities like slow walking around your practice space or gentle marching in place.
Focus on these warm-up activities:
Slow walking or marching to increase heart rate gradually
Arm circles in both directions to mobilize shoulders
Gentle neck rolls to warm the cervical spine
Torso twists to engage your core and spine
Leg swings forward and backward to loosen hips
Ankle circles to activate lower legs and feet
As you move, concentrate on engaging your major muscle groups throughout your body. This ensures oxygen delivery reaches everywhere you'll be using during aerial yoga. Pay special attention to your shoulders, core, and hips since these areas bear significant load in the hammock.
Keep your movements controlled and deliberate. Avoid bouncing or sudden jerking motions, which can strain cold muscles. Instead, move through each motion smoothly, gradually increasing your range of motion as your body temperature rises.
You should feel slightly warmer and notice your breathing has quickened naturally. Your muscles should feel more supple and responsive than they did at the start. This is your signal that you're ready to approach the hammock.
A thorough warm-up reduces injury risk and helps you focus mentally on your practice. Never skip this step, even if you're short on time.
Pro tip: Play music during your warm-up to maintain a steady pace and create a ritual that signals to your body and mind that practice is beginning.
Step 4: Practice Basic Easy Aerial Yoga Poses
Now that your body is warm and your hammock is secure, you're ready to experience your first aerial yoga poses. These foundational poses use the hammock as active support, allowing you to safely explore movements that would be challenging or impossible on the ground.
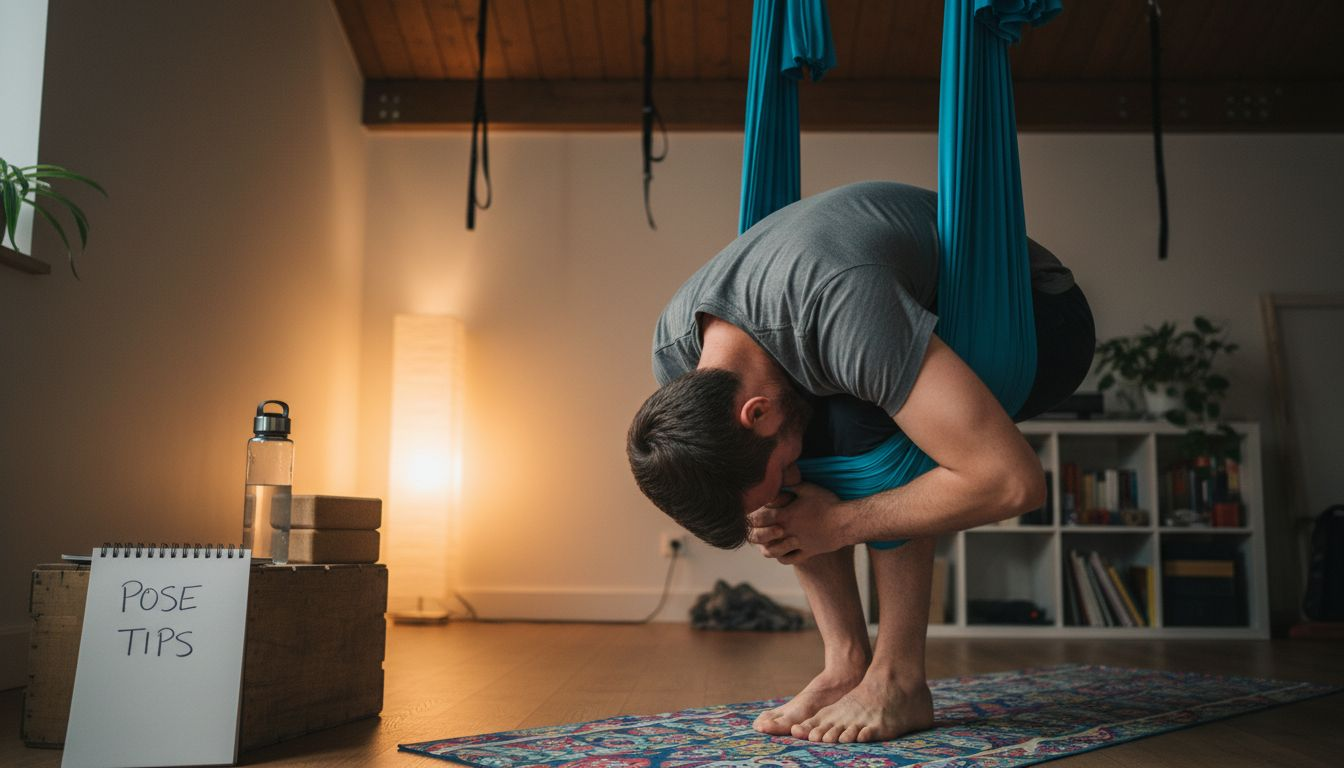
Start by sitting in the hammock with both feet on the floor. Get a feel for how the fabric supports your weight and how it responds to your movements. This builds confidence before you lift your feet completely off the ground.
Begin with these beginner-friendly poses:
Cross position where you sit with legs crossed and hold the hammock sides for stability
Star inversion with tailbone support to safely experience gentle upside-down movement
Supported forward bend using the hammock to deepen stretching through your spine
One-legged king pigeon which uses the hammock for balance while stretching your hip flexors
The hammock acts as support around your hips to enable poses that would be difficult on the ground. This support allows you to focus on breathing and alignment without worrying about balance. Move slowly into each pose, pausing to notice how your body feels in the unfamiliar position.
For your first session, choose two poses maximum. Practice each one for just 20 to 30 seconds, focusing on steady breathing and proper alignment. Exit gently by returning to a seated position before moving to the next pose.
Listen to your body constantly. Some sensations will feel like healthy stretching, while others might signal you're pushing too far. Back off immediately if you feel sharp pain, dizziness, or loss of control.
The hammock teaches you to trust support and breathe through challenging positions. This foundation builds confidence for more advanced poses later.
Pro tip: Record a short video of yourself practicing so you can review your form and notice improvements in your alignment and comfort over time.
Step 5: Check Your Form and Relax in Each Pose
Once you're in a pose, the real work begins. Proper alignment and conscious relaxation transform aerial yoga from just hanging around into a practice that builds strength and reduces stress.
Start by scanning your body from head to toe. Notice where you feel tension and where you feel supported. Your shoulders should be relaxed away from your ears, and your neck should be neutral, not craned forward or backward.
Check these key alignment points:
Shoulders away from ears and engaged properly
Spine in neutral position without excessive arching or rounding
Hips level and balanced on both sides
Core gently engaged but not rigidly braced
Neck aligned with your spine, not twisted or extended
Hands gripping firmly but without white-knuckled tension
Once your alignment feels solid, focus on your breathing. Deep breathing and maintaining awareness during poses enhances relaxation and allows energy to flow through your body. Inhale slowly through your nose for a count of four, then exhale for four counts. This steady rhythm calms your nervous system and helps you relax into the pose.
The goal is balance between effort and ease. You should feel stable yet comfortable, not straining or rigidly holding. If a pose requires constant muscular tension, you're likely gripping too hard. Soften where you can while maintaining alignment.
Observe sensations without judgment. Mild stretching sensations are normal and beneficial. Sharp pain, numbness, or tingling signals that something is wrong. Back off immediately and return to a resting position.
Relaxation in poses is not laziness. It's the practice of finding steadiness and calm, which builds confidence and prevents injury.
Pro tip: Set a timer for 30 to 45 seconds per pose during your first month so you can focus entirely on form and breathing instead of worrying about how long you've been holding the position.
Discover Confidence and Safety in Your Aerial Yoga Journey
Starting aerial yoga can feel challenging when it comes to setting up a safe space, choosing the right hammock, and mastering basic poses. The key to overcoming these hurdles is having expert guidance and access to proper equipment that supports your body and builds your confidence step by step. If you want to move beyond theory and experience how aerial yoga transforms your strength and calm, you do not have to do it alone.
Join the community at Amrita Yoga & Wellness where you can learn aerial yoga safely with professional instructors in a fully equipped studio environment. Whether you are a beginner eager to try easy aerial poses or looking for personalized support in setup and form, our expert-led classes and workshops provide exactly what you need. Take the next step today by exploring our class schedules and discover how aerial yoga can bring balance, strength, and relaxation into your life.
Frequently Asked Questions
What are some easy aerial yoga poses for beginners?
Start with beginner-friendly poses like the Cross Position, Star Inversion, Supported Forward Bend, and One-Legged King Pigeon. Try practicing these poses for 20 to 30 seconds each during your first session to build confidence and familiarity.
How do I set up a safe aerial yoga space at home?
Choose a room with adequate ceiling height and sturdy support beams, and ensure there’s enough space around your hammock to prevent injuries. Clear any furniture or obstacles before installation and test the hammock’s stability before your practice.
What should I focus on during my warm-up for aerial yoga?
Engage in light movement for 5 to 10 minutes, such as slow walking, arm circles, and leg swings to prepare your muscles. Focus on controlled movements to increase blood flow and reduce the risk of injury during your session.
How do I ensure proper form in aerial yoga poses?
Check your alignment by ensuring your shoulders are relaxed, spine is neutral, and core is gently engaged. Regularly scan your body for tension and adjust your position as needed to maintain a balance between effort and ease in each pose.
How long should I hold each aerial yoga pose as a beginner?
In your first month, aim to hold each pose for 30 to 45 seconds to focus on your form and breathing. Gradually increase the time as you become more comfortable and confident in each position.
What should I do if I feel discomfort during a pose?
If you experience sharp pain, dizziness, or numbness, back off immediately and return to a resting position. Listen to your body and adjust your movements to ensure a safe and enjoyable practice.
Recommended
Aerial Yoga Strengthening Moves for Total Body Power — Amrita Yoga & Wellness
How to Advance in Aerial Yoga for Greater Mastery — Amrita Yoga & Wellness
Building Aerial Yoga Strength for Lasting Flexibility — Amrita Yoga & Wellness
Master Aerial Yoga Poses for Beginners Step by Step — Amrita Yoga & Wellness