Aerial Yoga Poses Step by Step: Beginner's Guide
Heather Rice
TL;DR:
Aerial yoga uses a suspended hammock to support traditional poses and inversions for all fitness levels. Proper equipment setup, clothing, and gradual skill building are essential for safe practice and progress. Beginners should focus on foundational poses and patience before attempting advanced inversions to avoid injury and build confidence.
Aerial yoga is defined as a practice that uses a suspended silk hammock to support the body through traditional yoga poses, inversions, and strengthening movements. Learning aerial yoga poses step by step gives you a clear path from your first hammock sit to confident inversions, without guessing or risking injury. The hammock acts as both a prop and a support system, making poses accessible to adults at any fitness level. A typical aerial yoga class runs 60–75 minutes and moves through breathwork, standing sequences, and a cocooned savasana at the end. That structure exists for a reason: it builds your body and your confidence at the same pace.
What do you need before starting aerial yoga poses step by step?
Getting the equipment right is the single most important step before you attempt any pose. Skipping this part is where most beginners run into trouble, and it has nothing to do with flexibility.
Hammock setup and clearance
Your hammock suspension point must be rated for at least twice your body weight. That load factor accounts for dynamic movement, not just static hanging. You also need a minimum of 3–5 feet of clearance around the hammock on all sides. That space prevents collisions during wide poses and gives you room to exit safely if a position feels wrong.
What to wear and what to bring
Clothing choices affect both your safety and the life of the hammock fabric. Wear fitted clothing with no zippers, buttons, or jewelry. Loose fabric tangles in the silk during complex wraps, and metal hardware tears the weave over time. Fitted leggings and a snug long-sleeve top are the standard choice for most practitioners.
| Item | Requirement | Why it matters |
|---|---|---|
| Suspension point | Rated 2× body weight minimum | Prevents structural failure during dynamic movement |
| Clearance space | 3–5 feet on all sides | Avoids collisions and allows safe pose exits |
| Clothing | Fitted, no zippers or jewelry | Protects hammock fabric and reduces tangling risk |
| Mat | Placed below hammock | Cushions landings and marks your safe zone |
| Bare feet or grip socks | No hard-soled shoes | Maintains contact and control on the fabric |
Place a yoga mat directly below the hammock. It cushions any unexpected contact with the floor and gives you a visual reference for your center point.
Pro Tip: Remove rings, bracelets, and hair accessories before every session. Even small metal pieces can snag the silk and create a tear that weakens the fabric over time.
Step-by-step guide to beginner aerial yoga poses
These foundational poses build the grip strength, body awareness, and trust in the hammock that every intermediate move depends on. Work through them in order.

1. Hammock familiarization
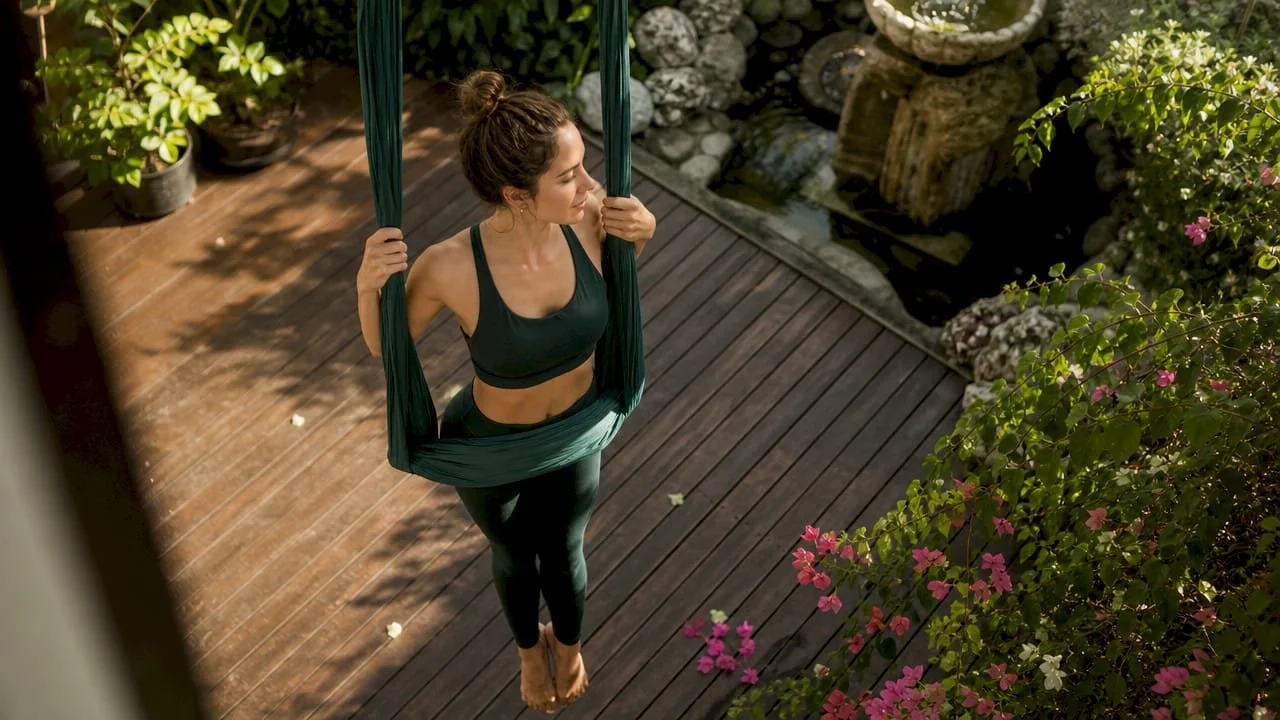
Stand inside the hammock loop with the fabric resting across your hips at hip height. Place both hands on the fabric and shift your weight gently side to side. This is not a pose. It is a calibration step that tells your nervous system what the hammock feels like under load. Spend two to three minutes here before attempting anything else.
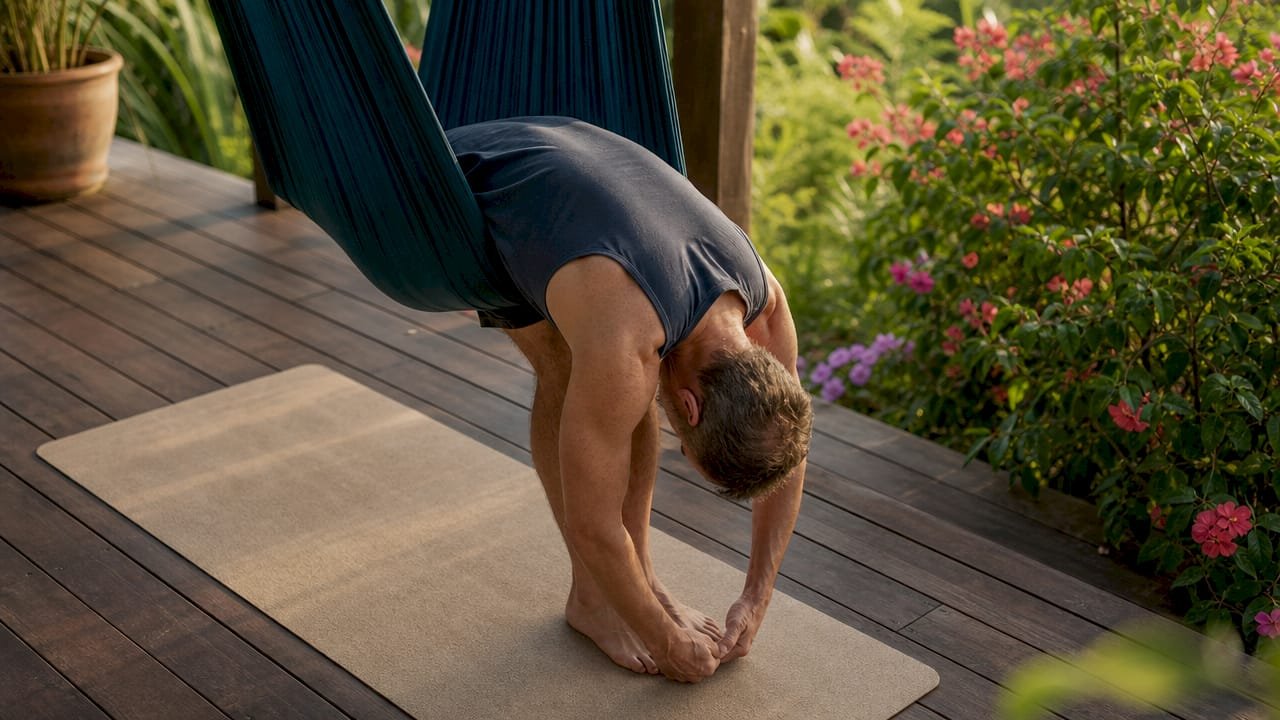
2. Supported forward fold
Stand with the hammock behind you at hip height. Lean your hips back into the fabric and hinge forward at the waist, letting your arms hang toward the floor. The hammock carries your hip weight while your spine decompresses. Hold for five slow breaths. This pose is one of the best aerial yoga strengthening moves for releasing lower back tension while teaching you to trust the fabric.
3. Hip opener pose
Sit in the hammock with the fabric supporting your sit bones. Open both knees out to the sides and press the soles of your feet together in a butterfly position. Let the hammock carry your full weight. Hold for five to eight breaths. This pose builds hip mobility that you will need for every seated and inverted position that follows.
4. Supported backbend
Stand facing away from the hammock with the fabric at mid-back height. Lean back slowly and let the silk support your spine as you open your chest toward the ceiling. Keep your feet flat on the floor and your knees slightly bent. This is a gentle introduction to spinal extension without any weight-bearing on the neck or shoulders.
5. Seated swing
Sit fully in the hammock with the fabric under your thighs and your hands gripping the sides. Push off gently and allow a slow, controlled swing. This step is purely about building comfort with motion. Many adults feel mild disorientation here. That response is normal and fades with repetition.
Pro Tip: Integrate breath with every pose from the start. Inhale as you enter a position, exhale as you settle into it. This habit makes the transition to inversions far smoother because your nervous system stays calm.
6. Gentle inversion preparation
From the seated position, grip the hammock firmly and slowly tilt your head back until it drops below your heart level. Do not go fully upside down yet. Hold for three breaths and return upright. This micro-inversion trains your inner ear and circulatory system to adjust gradually.
How do you progress to intermediate aerial yoga poses?
Intermediate aerial flying yoga poses require grip endurance, core control, and a clear understanding of how to exit each position safely. Build these qualities before attempting any full inversion.
Aerial downward-facing dog
Stand facing the hammock with the fabric at hip height.
Place both hands on the floor in front of you, shoulder-width apart.
Step both feet back and rest the tops of your feet on the hammock fabric.
Press your hips up and back to form an inverted V shape.
Hold for five breaths, keeping your core engaged and your heels pressing toward the floor.
This pose builds shoulder stability and teaches you how the hammock behaves under foot pressure, which is a key skill for more complex aerial silks yoga positions.
Aerial low lunge
Start in aerial downward-facing dog.
Step your right foot forward between your hands.
Let your left leg extend back with the hammock supporting your left shin.
Lift your torso upright and raise both arms overhead.
Hold for four breaths, then switch sides.
The hammock elevation in this lunge creates a deeper hip flexor stretch than a floor-based version. That depth is the point, but it also means you should move into it slowly.
Aerial chair pose
Stand with your back to the hammock, fabric at mid-thigh height.
Sit back into the hammock as if lowering into a chair.
Keep your feet flat on the floor and your knees at a 90-degree angle.
Extend both arms forward for balance.
Hold for five breaths, then stand back up with control.
Lotus inversion preparation
The lotus inversion requires progressive mastery of grip, core strength, hip mobility, and trust in the fabric before you attempt the full position. Do not skip the preparation steps.
Complete at least four weeks of consistent beginner poses before attempting this.
Practice the gentle inversion preparation until three-breath holds feel effortless.
Build grip endurance with mini-movements: small controlled shifts in the hammock while hanging.
Work with an instructor for your first full inversion attempt.
Pro Tip: Grip strength and body control are the two most underestimated requirements in aerial fitness. Start with mini-movements and assisted holds to build endurance before attempting unsupported inversions.
Dizziness during early inversions is common. Keeping your head above your heart initially helps your inner ear adjust to spatial reorientation. Increase inversion depth only after that sensation disappears completely.
What mistakes do beginners make in aerial yoga poses?
Most errors in aerial yoga come from rushing, not from lack of ability. Identifying them early saves you weeks of frustration.
Incorrect grip: Wrapping fingers too loosely around the fabric reduces control. Grip the hammock with your full hand, not just your fingertips.
Shoulder creep: Letting shoulders rise toward your ears during holds compresses the neck and reduces stability. Keep shoulders actively drawn down and back.
Overstretching: The hammock amplifies range of motion. A stretch that feels mild can be deeper than it appears. Move slowly and stop at the first sign of sharp discomfort.
Wrong clothing: Loose fabric or jewelry snags the silk and can cause sudden shifts in position. Fitted clothing is a safety requirement, not a style preference.
Ignoring dizziness: Pushing through inversion nausea does not build tolerance faster. It builds aversion. Exit the pose, sit upright, and wait for the sensation to pass before continuing.
Skipping savasana: The cocooned savasana at session end stabilizes the nervous system after inversions. Skipping it leaves your body in an activated state, which increases soreness and reduces recovery.
Aerial yoga rewards patience. Every practitioner who rushes past the foundations ends up returning to them. The ones who stay with the basics longest progress the fastest.
Exiting a challenging pose safely means reversing your entry steps in order. Never drop out of a position. Reverse it deliberately, one step at a time.
Key takeaways
Mastering aerial yoga poses step by step requires correct equipment setup, progressive skill building, and consistent attention to breath and body signals at every stage.
| Point | Details |
|---|---|
| Equipment comes first | Suspension points must be rated for at least twice your body weight before any practice begins. |
| Clothing affects safety | Fitted garments with no zippers or jewelry protect both you and the hammock fabric. |
| Build in sequence | Complete beginner poses for at least four weeks before attempting intermediate inversions. |
| Manage inversion nausea | Keep your head above your heart in early sessions to let your inner ear adjust gradually. |
| Never skip savasana | Five to ten minutes of cocooned relaxation after inversions stabilizes the nervous system and aids recovery. |
Why I think most people approach aerial yoga backwards
Most adults who come to aerial yoga want to be upside down within the first session. That impulse is understandable. The inversions look like the whole point. But the hammock is a playful partner, not a shortcut. The people who treat it that way, who spend their first few sessions just getting comfortable with the fabric's weight and movement, end up with far better inversions than those who force it.
Strength gains in aerial yoga are cumulative. Rushing to advanced poses without mastering the foundations risks injury and frustration. I have seen this pattern repeat consistently. The practitioner who spends three sessions on supported forward folds and hip openers builds the grip endurance and spatial awareness that makes a lotus inversion feel natural. The one who skips ahead spends those same three sessions recovering from a strained shoulder.
The mind-body connection that aerial yoga builds is also different from floor-based yoga. When you are partially suspended, your body cannot rely on ground feedback. Your proprioception, your sense of where your body is in space, has to sharpen quickly. That sharpening is one of the most underrated benefits of the practice. It carries over into every other physical activity you do.
My honest recommendation: treat the beginner sequence in this guide as a six-week program, not a checklist to complete in one session. Revisit the seated swing and gentle inversion prep every single session, even after you have moved on to intermediate work. Those two poses keep your nervous system calibrated and your confidence grounded.
— Juiced
Aerial yoga classes and wellness at Amritayogawellness
Amritayogawellness, the Philadelphia-based studio behind this guide, offers structured classes for adults at every level of aerial yoga fitness, from first-timers to practitioners ready to work on inversions with expert guidance.

Every class at Amritayogawellness includes safety instruction, proper hammock setup guidance, and instructor-led progressions so you never have to guess your next step. For adults looking to complement their physical practice with deeper wellness work, the studio also offers tarot readings as part of its broader approach to personal growth and self-care. Whether you are stepping into a hammock for the first time or refining your intermediate poses, Amritayogawellness gives you the structure and community to make it stick.
FAQ
What is aerial yoga?
Aerial yoga is a practice that uses a suspended silk hammock to support the body through yoga poses, inversions, and strengthening movements. It combines traditional yoga alignment with the added challenge and support of working off the ground.
How long does a typical aerial yoga session last?
A standard aerial yoga class runs 60–75 minutes, including breathwork, active poses, and a 5–10 minute cocooned savasana at the end.
Is aerial yoga safe for complete beginners?
Aerial yoga is safe for beginners when the hammock is properly installed and poses are learned in sequence. Starting with easy aerial yoga poses and building gradually is the key to avoiding injury.
Why do I feel dizzy during aerial yoga inversions?
Dizziness during inversions is a normal inner ear response to spatial reorientation. Keeping your head above your heart in early sessions and increasing inversion depth gradually resolves the sensation for most practitioners.
What should I wear to an aerial yoga class?
Wear fitted clothing with no zippers, buttons, or jewelry. Loose fabric and metal hardware snag the silk hammock and can cause sudden shifts in position during poses.