Aerial Yoga Guide for Beginners: Step-by-Step Practice Success
Heather Rice
Did you know that aerial yoga can burn up to 320 calories per hour while improving flexibility and core strength? With so many people seeking fresh ways to stay active at home, aerial yoga has become more popular than ever. Setting up your space and choosing the right equipment are vital steps to enjoy a safe and rewarding practice, allowing you to experience both the fun and the fitness benefits of this unique workout style.
Quick Summary
| Key Point | Explanation |
|---|---|
| 1. Maintain 6 Feet Clearance | Ensure at least six feet of space around and below your hammock for safe movement and to prevent injury. |
| 2. Choose a Quality Hammock | Select a hammock made from durable fabric that supports around 300 kg for safety and longevity in your practice. |
| 3. Warm Up Essential Muscles | Focus on warming up neck, shoulders, spine, hips, and hamstrings to prepare your body for aerial poses and reduce injury risk. |
| 4. Progress Mindfully in Poses | Listen to your body and gradually increase the complexity of poses, avoiding pain and discomfort during practice. |
| 5. Keep a Practice Journal | Document your experiences and observations to track progress and adjust your aerial yoga practice effectively. |
Table of Contents
Step 1: Prepare Your Space and Equipment
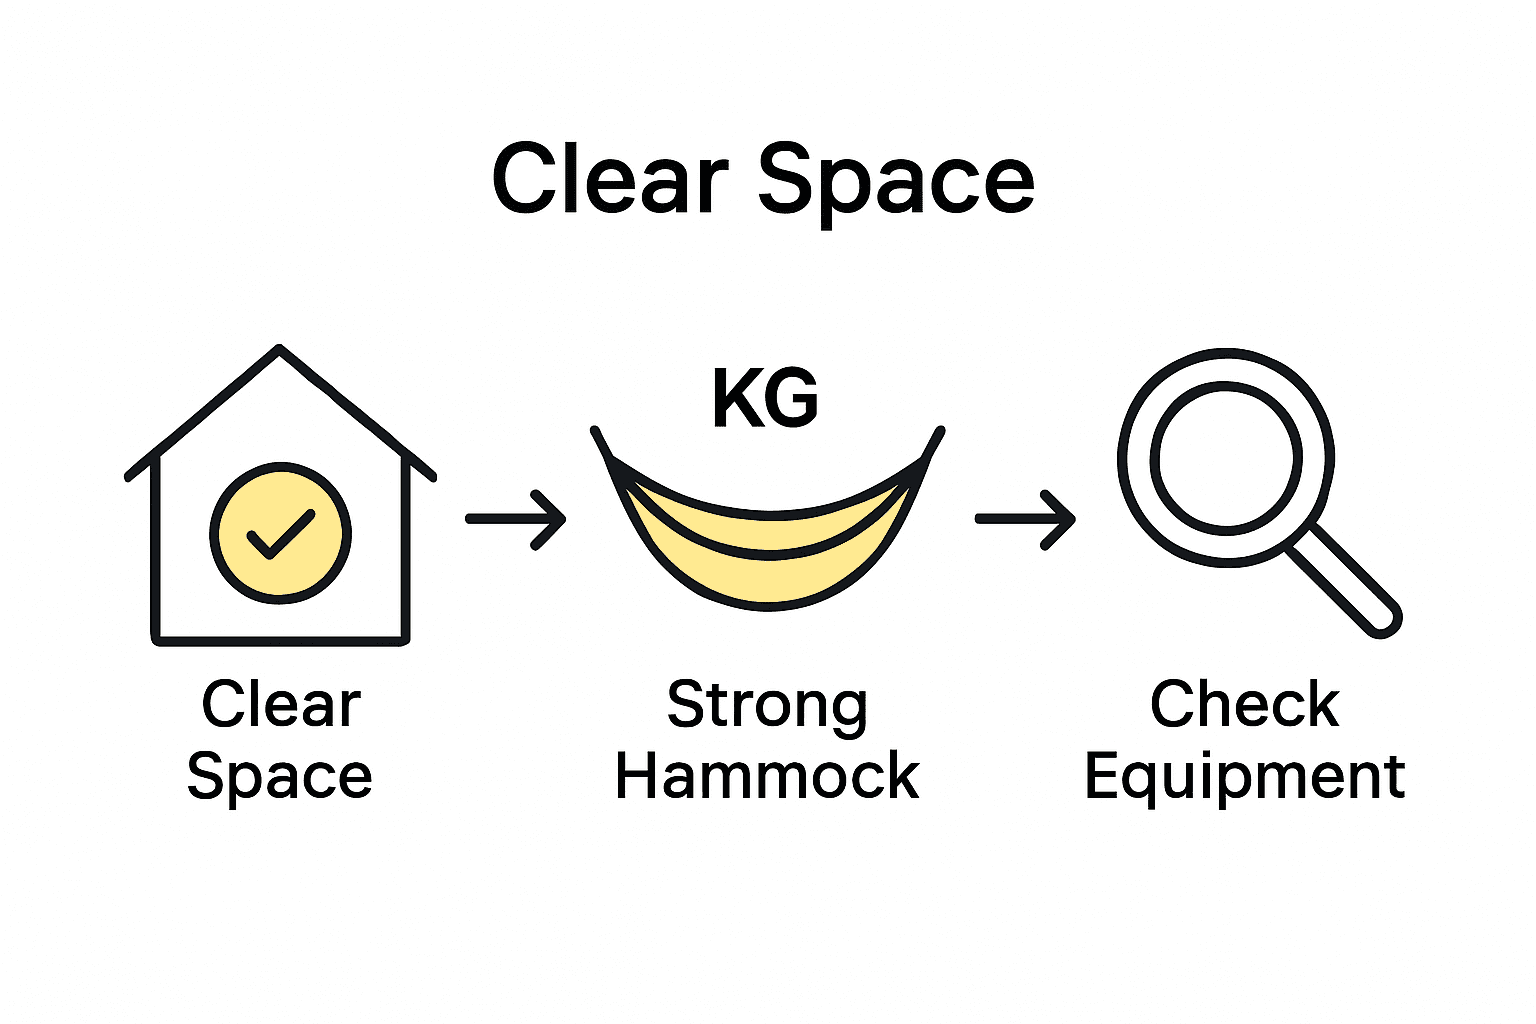
Preparing for an aerial yoga session means creating a safe and intentional practice environment that supports your journey into this exciting form of movement. Your goal is to set up a space that allows you to explore aerial yoga confidently and securely.
First, identify a suitable location in your home or studio. According to research from Reality Pathing, you'll want an area with at least six feet of clearance around and beneath your hammock. This space ensures you can move freely without bumping into furniture or walls.
Next, focus on your primary equipment. As outlined by Wikipedia, you'll need a specialized aerial yoga hammock capable of supporting around 300 kilograms. This robust fabric will be your primary support system during practice. If you're setting up at home, you'll want two sturdy support chains hanging from the ceiling at less than one meter above ground level. These anchor points provide stability and flexibility in your movements.
Pro Tip: Always inspect your rigging and equipment before each practice. A quick visual and physical check can prevent potential accidents.
If you're new to aerial yoga, consider starting in a professional studio where equipment is professionally installed. This approach allows you to learn proper setup and technique before attempting home installation.
Here's a summary of key considerations when setting up your aerial yoga space:
Aerial Yoga Safety Recommendations
| Aspect | Recommendation | Reason/Benefit |
|---|---|---|
| Space Clearance | 6 feet around & below hammock | Safe movement Prevents injury |
| Hammock Type | Supports ~300 kg Quality fabric |
Security Durability |
| Anchor Points | 2 support chains <1 meter height |
Stability Flexibility |
| Inspection | Visual & physical check each use | Accident prevention |
| Studio vs. Home | Start in studio if new | Learn proper setup & safety |
With your space prepared and equipment checked, you're ready to elevate your yoga practice literally and figuratively. Our next step will guide you through initial positioning and basic aerial yoga techniques that will transform your workout.
Step 2: Choose the Right Aerial Yoga Hammock
Selecting the perfect aerial yoga hammock is crucial for a safe and enjoyable practice. Your goal is to find a hammock that supports your body, matches your skill level, and provides the right balance of comfort and stability.
According to research from Yoga Galaxy, the standard height for most aerial yoga exercises is around 60 to 90 cm above ground. This height allows for easy access and provides optimal safety for practitioners. If you are a beginner or have limited mobility, you might want to explore a "low aerial yoga" setup positioned closer to the floor at 15 to 30 cm.
As Wikipedia explains, your hammock will be supported by a combination of chains, webbing straps, silk fabric, and carabiners. You can choose between one or two anchor points depending on whether you want more stability or a greater range of motion. Check out our comprehensive guide on aerial yoga styles to understand which setup might work best for your practice.
Pro Tip: When choosing a hammock, prioritize quality fabric that can safely support your body weight and provide enough stretch for comfortable movements.
Consider factors like fabric strength, width, and elasticity. A good aerial yoga hammock should be made from durable materials like high-quality silk or polyester blend that can withstand repeated use and provide the right amount of support.
With your hammock selected, you are now ready to move forward and learn the fundamental techniques of aerial yoga positioning and movement.
Step 3: Master Foundational Warm-Up Movements
Before diving into aerial yoga movements, preparing your body with a strategic warm-up is essential. Your goal is to gently condition muscles and joints while reducing potential injury risk.
According to research from Reality Pathing, your warm-up should focus specifically on key body areas including neck, shoulders, spine, hips, and hamstrings. These muscle groups play a critical role in aerial yoga suspension and require targeted preparation.
Start with gentle ground movements that mimic aerial poses. Roll your shoulders slowly, perform gentle spinal twists, and do some standing stretches that will help transition your body into the suspended environment. Our comprehensive aerial yoga guide offers additional insights into preparatory techniques.
Pro Tip: Remove jewelry, avoid wearing lotions, and create a distraction free environment before beginning your warm-up routine.
As you warm up, pay attention to how your body feels. Move mindfully and listen to any signals of tension or discomfort. Gradually increase your range of motion and prepare your muscles for the unique challenges of aerial yoga.
With your body primed and ready, you are now prepared to explore the exciting world of aerial yoga movements and positions.
Step 4: Practice Basic Aerial Yoga Poses Safely
Learning aerial yoga requires patience and a thoughtful approach to mastering foundational poses. Your journey begins with understanding safe and supportive movements that build confidence and body awareness.
According to Atom Yoga, several beginner friendly poses can help you acclimate to aerial practice. Start with the supported Butterfly pose which gently opens your hips while providing hammock support. This pose allows you to feel secure while exploring gentle movement and flexibility.
Research from the Indian Express recommends a progressive approach. Begin with a seated swing to build initial balance and core awareness. As you gain comfort, progress to a star inversion which offers incredible spinal decompression benefits. Learn more about yoga techniques in our comprehensive guide.
Pro Tip: Always maintain a connection with your breath and move slowly. Your hammock is a supportive tool designed to enhance your practice.
Next, explore the cocoon pose for deep relaxation. This pose allows you to feel fully supported while gently stretching your body. Remember that each movement should feel comfortable and controlled.
With these foundational poses mastered, you are ready to explore more complex aerial yoga techniques and movements.
Step 5: Monitor Progress and Adjust for Comfort
Progressing in aerial yoga is a personal journey that requires self awareness and mindful practice. Your goal is to develop a practice that challenges you while respecting your body's unique limits and capabilities.
According to research from the Indian Express, the most crucial aspect of your practice is listening to your body throughout each movement. This means avoiding the temptation to push through pain and instead focusing on gradual, safe progression. Learn more about holistic yoga approaches in our comprehensive wellness guide.
Start by tracking your comfort levels during different poses. Notice how your body feels when entering and exiting the hammock. Are certain movements causing tension? Do you feel stable and supported? These observations will help you make informed adjustments to your practice.
Pro Tip: Keep a practice journal to document your experiences, challenges, and improvements. This reflection can provide valuable insights into your aerial yoga journey.
Remember that progression is not linear. Some days you might feel more flexible or balanced than others and that is completely normal. The key is to approach each session with curiosity and compassion toward yourself.
By maintaining this mindful approach, you will build a sustainable and rewarding aerial yoga practice that grows with you.
Ready to Transform Your Aerial Yoga Journey into Real-World Progress?
Discovering the freedom and energy of aerial yoga is thrilling, but getting started often means dealing with space limitations, uncertainty around equipment, and the need for reliable beginner guidance. If you have ever felt overwhelmed trying to create a safe setup at home or unsure of your next step after learning foundational poses, you are not alone. Many beginners share the same concerns about mastering technique and building confidence while caring for their mind and body.
Why pause your progress when expert help, in-studio support, and a welcoming community are right at your fingertips? At Amrita Yoga & Wellness, you can deepen your practice with hands-on aerial yoga classes taught by experienced instructors, enjoy access to professional equipment, and explore workshops tailored for every level. Ready to move from reading to real transformation? Browse our schedule and join your first class today, or discover even more wellness-inspired experiences and classes for personal growth. Take the next step now and let your aerial yoga practice truly soar in a supportive environment.
Frequently Asked Questions
What space requirements should I consider for practicing aerial yoga?
To practice aerial yoga safely, ensure you have at least six feet of clearance around and beneath your hammock. Clear the area of any furniture or obstacles to allow for free movement and prevent injuries.
How should I choose the right height for my aerial yoga hammock?
Most aerial yoga exercises are best at a height of 60 to 90 cm above the ground. For beginners or those with limited mobility, consider a lower setup of 15 to 30 cm for easier access and added safety.
What are some essential warm-up movements for aerial yoga?
Focus on warming up key areas such as your neck, shoulders, spine, hips, and hamstrings. Perform gentle stretches and movements like shoulder rolls and spinal twists to prepare your body for aerial poses safely.
How can I track my progress in aerial yoga?
Monitor your comfort levels and stability during each pose to track your progress. Keep a practice journal to note experiences, challenges, and improvements, helping you identify patterns and areas for growth.
What basic aerial yoga poses should I start with?
Begin with poses like the supported Butterfly pose and seated swing, which build confidence and core awareness. Gradually progress to poses like the star inversion as you become more comfortable and secure in your practice.
When should I consider practicing aerial yoga in a studio instead of at home?
If you're new to aerial yoga, it’s advisable to start in a professional studio with properly installed equipment. This allows you to learn the correct setup and techniques under the guidance of experienced instructors.


