How to Do Hot Yoga at Home: Safe Setup & Quick Routine
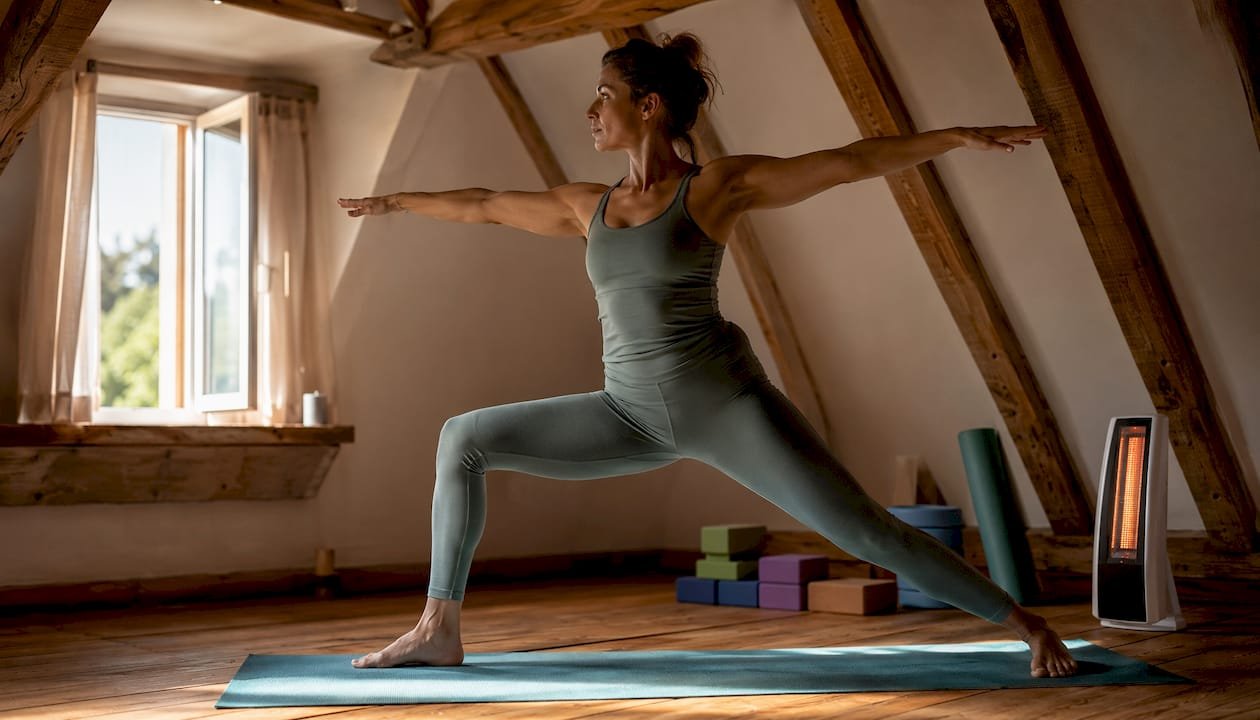
Yes, you can practice hot yoga at home safely — but three things have to be in place before you unroll your mat:
Control the environment. A small, uncluttered room that you can heat to 85°F–95°F is the practical at-home target. Pushing above 100°F without professional ventilation is discouraged.
Hydrate hours ahead. Drink 16–20 ounces about two hours before you start, sip steadily throughout the day, and replenish electrolytes after the session.
Know your stop signals. Dizziness, nausea, or faintness means stop immediately, move into Child's Pose, and sip water slowly. Do not push through those signs.
Amritayogawellness covers hot yoga safety in depth, and the guidance below builds on those principles for a home setting. The goal here is a repeatable, lower-risk practice — not a studio clone.
Table of Contents
What do you need before you heat the room?
Run through this checklist before your first session. Missing even one item turns a manageable practice into a real risk.
Yoga mat with solid grip ($25–$80 for a quality option)
Full-length microfiber towel to lay over the mat ($20–$40)
Insulated water bottle, at least 32 oz ($15–$35)
Digital thermometer and hygrometer combo ($10–$20) to monitor temperature and humidity in real time
Space heater — infrared or ceramic ($40–$150)
Humidifier ($25–$80) to keep air from feeling sharp during deep breathing
Non-slip floor area cleared of furniture and trip hazards
Timer or phone nearby for session tracking and emergency use
Pro Tip: Start with a basic ceramic heater and your existing mat. Once you've done six to eight sessions and know the practice suits you, upgrade to an infrared panel or a heated yoga dome. Spending $300 on gear before your first sweaty session at home is a common and avoidable mistake.
For a fuller hot yoga preparation checklist, Amritayogawellness has a dedicated resource worth bookmarking.
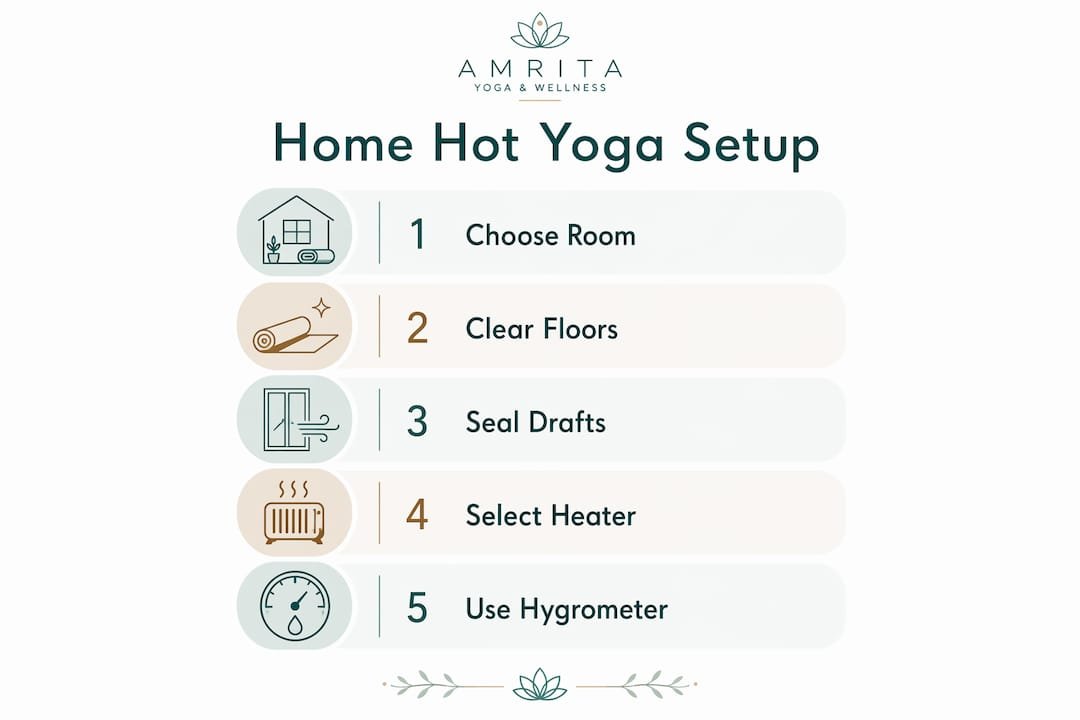
How do you set up and heat the room safely?
Choosing and preparing the space
Pick the smallest room that still lets you extend your arms and legs fully in every direction. A spare bedroom, a large home office, or even a spacious bathroom all work. Large open-concept rooms with high ceilings are beautiful and nearly impossible to heat efficiently
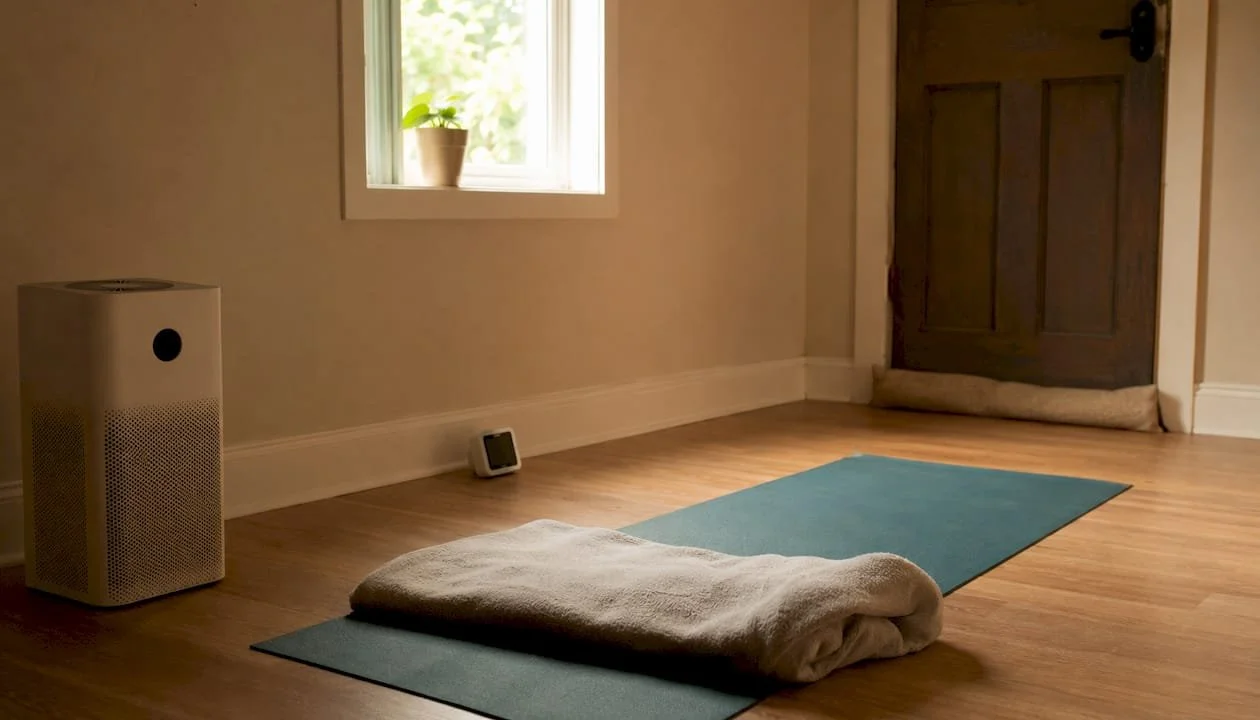
Clear the floor completely. Furniture creates cold pockets where air stagnates, and clutter is a fall hazard when you're sweating and off-balance. Hardwood, tile, or vinyl flooring is easier to sanitize than carpet; if you're on carpet, layer extra towels under your mat.
Seal drafts before you turn on any heat. Roll a towel against the gap under the door, close all windows, and pull thermal curtains over large glass panes. Heat escapes fast through those gaps, and your heater will run harder to compensate.
Heating the room safely
Infrared heaters warm objects and people directly rather than just the air, so the room feels warmer at a lower ambient temperature. Ceramic heaters warm the air and may need more time or a fan to distribute heat evenly. Either works; infrared tends to feel more comfortable during pranayama because the air stays less dry.
Place the heater at least three feet from your mat, away from curtains, towels, and any flammable material. Plug it into a ground-fault protected outlet if you're near a bathroom or any water source. Never leave it unattended, and never stack a towel on top of or directly in front of it.
Give the room 20–30 minutes to pre-warm before you step on the mat. Set your thermometer and hygrometer at mat level, not near the ceiling, where readings run several degrees hotter. Target humidity between 40% and 50%.
A note on temperature: Many home practitioners find 85°F–95°F safer and more sustainable than studio highs. Staying in that range lets you build a consistent practice without the ventilation infrastructure a 105°F room actually requires. Monitor the thermometer mid-session and turn the heater off if the room climbs past your target.
Pro Tip: Place the hygrometer at the center of your mat space, not near the heater or a window. Readings near heat sources are artificially high; readings near glass run low. The center of the room is what your body actually experiences.
What does a beginner home hot yoga sequence look like?
Start with breath and gentle movement to build tapas (internal heat) before expecting studio-level sweating. The room temperature matters less than you think in the first ten minutes; your body generates significant heat through movement alone.
This sequence runs 20–35 minutes and suits hot yoga for beginners or anyone returning after a break.
Arrival and breathing (3 minutes). Sit or lie on your mat. Take slow diaphragmatic breaths: inhale through the nose for four counts, exhale for six. Let your nervous system settle before the heat registers.
Gentle mobilization (4 minutes). Cat-Cow (8 slow rounds), then Downward Facing Dog held for five breaths. These wake up the spine and begin circulating warm blood to the joints.
Standing flow (10 minutes). Move through two rounds of Sun Salutation A at a measured pace. Add Warrior II (five breaths each side), Triangle Pose (four breaths each side), and Chair Pose (six breaths). Rest in Mountain Pose between rounds if your breath becomes ragged.
Floor work (5 minutes). Bridge Pose (five breaths, twice), then a Supine Twist on each side (five breaths). These decompress the spine after standing work and keep the heart rate from spiking.
Savasana (3 minutes minimum). Turn off the heater before you lie down. Let the room cool naturally while your body recalibrates. Skip this step and you'll feel the fatigue for hours afterward.
Shorten the standing flow first if you feel the heat becoming too much. Skip jump-backs entirely; walk between poses instead. If your balance wobbles or your breath shortens noticeably, drop into Child's Pose and stay there until both stabilize.
For more sequencing ideas, Amritayogawellness has a hot yoga routine tag with progressions you can layer in as you build confidence.
How do you stay safe and know when to stop?
Hydration plan
Start drinking water well before you practice — not when you step on the mat. Drink 16–20 ounces roughly two hours before your session and sip steadily throughout the day. During the session, take small sips between poses rather than gulping large amounts, which causes stomach discomfort during twists. After practice, replenish electrolytes: coconut water, a pinch of sea salt in water, or an electrolyte tablet all work.
Thirst is a lagging signal. By the time you feel it, you're already behind on fluids.
Warning signs — stop immediately if you notice:
Dizziness or lightheadedness
Nausea or stomach cramping
Headache that builds during practice
Rapid or irregular heart rate
Visual disturbance or tunnel vision
Sudden fatigue that feels different from normal exertion
Immediate response if symptoms appear
Stop the pose and lower yourself to the floor.
Move into Child's Pose to let your body regulate before standing.
Sip water slowly — do not gulp.
Turn off the heater and open a window or door.
If symptoms don't ease within two to three minutes, move to a cooler room.
Call for help or dial 911 if symptoms worsen, you lose consciousness, or vomiting begins.
The essential hot yoga safety tips on the Amritayogawellness blog go deeper on each of these stop signals and are worth reading before your first heated session.
Skip a heated session entirely if you have: a fever, recent heavy alcohol consumption, a known cardiovascular condition (consult your physician first), or you're pregnant. The heat adds physiological load that compounds existing stress on the body.
Pro Tip: Keep your phone within arm's reach and tell someone you're doing a heated solo session. A simple text before and after takes ten seconds and matters if something goes wrong.
This article is general information, not medical advice. Consult a physician before starting heated yoga if you have any significant health condition.
What should you wear and which heater actually works?
Clothing and grip
Moisture-wicking, fitted clothing is the standard for a reason: loose cotton traps sweat and adds weight. Start your session in a light layer (a thin sweatshirt over your yoga top) to reach a sweating point faster, then shed it once you're warm. Bare feet are the norm; socks become slippery fast.
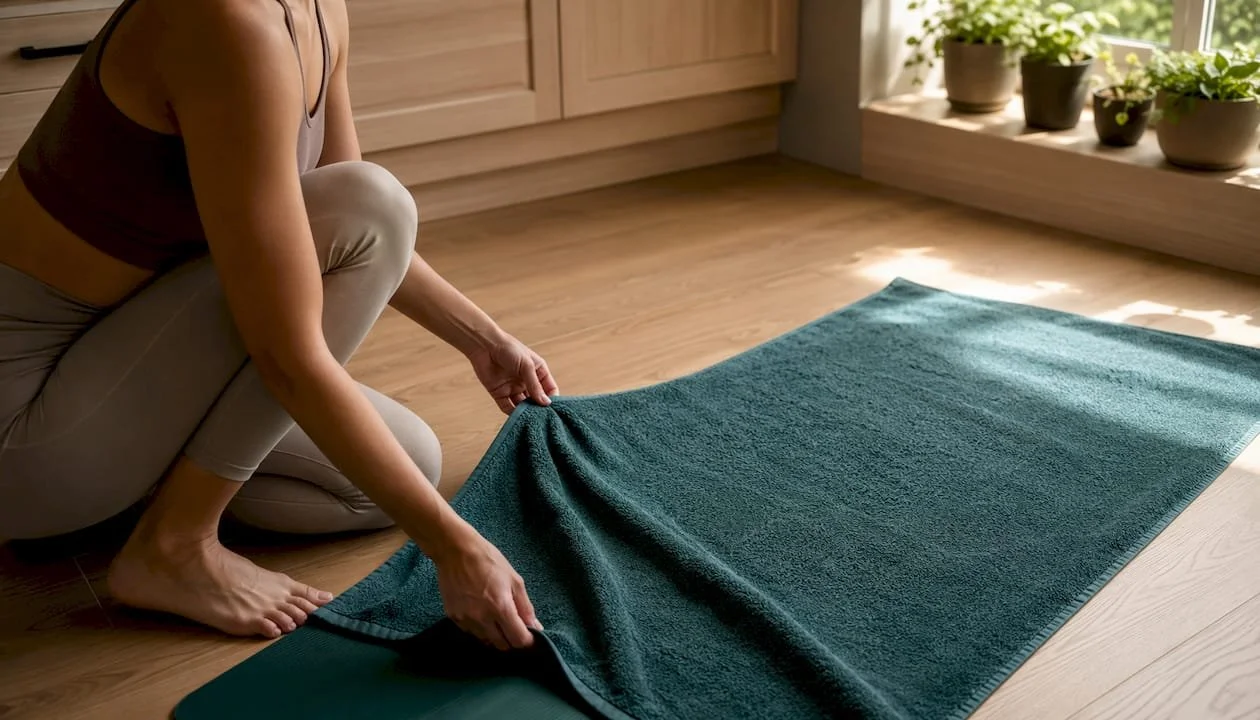
For grip, a full-length microfiber towel laid over your mat is the most effective traction tool in hot practice. It absorbs sweat, protects the mat surface, and stays put better than relying on any single "non-slip" mat feature. Cork blocks outperform foam when your hands are wet — the natural texture holds even when soaked.
Heater comparison
| Feature | Infrared heater | Ceramic heater |
|---|---|---|
| What it heats | Objects and people directly | Air in the room |
| Warm-up time | Faster perceived warmth | 20–30 min to reach target temp |
| Air quality | Doesn’t dry the air as much | Can feel dry without a humidifier |
| Typical cost | $80–$150 | $40–$100 |
| Best for | Solo practitioners, smaller rooms | Budget setups, rooms with fans |
The inflatable hot yoga dome is a third option: a portable, cocoon-like structure that heats to 105°F in 10–15 minutes because the enclosed volume is tiny. This is a practical solution for apartment dwellers with rental restrictions, though the cost runs higher and the space inside is tight.
Safety checklist for any heater:
Minimum three feet of clearance from mat and all fabric
Plugged into a ground-fault protected outlet near water sources
Never left running unattended
Turned off before Savasana
What if you can't heat the room?
Not every living situation allows for a heated room. Rental restrictions, shared walls, circuit limitations, or a health condition that makes extreme heat unwise — any of these can make a fully heated session impractical. You still have options.
Hot shower beforehand. Ten minutes of warm water raises your core temperature and loosens the muscles. Step onto the mat while your skin is still slightly damp to encourage early sweating.
Layered clothing. Start in a sweatshirt and light leggings. The layers trap body heat and simulate the early warm-up phase of a heated session. Shed them as you build internal heat through movement.
Bathroom practice. A small bathroom retains steam well. Run a hot shower for a few minutes before you practice, then close the door and work through a short flow in the residual warmth.
Outdoor practice in summer. Practicing in direct sun creates real heat, but UV exposure is a concern. Choose a shaded spot or apply a high-SPF sunscreen, and avoid peak midday hours.
Movement-first approach. Vigorous Cat-Cow, rapid Sun Salutations, and Ujjayi breathing generate significant internal heat without any external source. This is the tapas principle in practice: the body is its own furnace when you move with intention.
If heat-related risks are your concern, a therapeutic recovery approach can complement your practice by addressing the muscular tension that builds when you train in warm conditions.
When does in-person instruction actually matter?
Home practice is genuinely effective for building consistency, but there are specific moments when a studio class pays for itself quickly.
Alignment is the clearest one. In a heated room, muscles release faster than usual, which means you can move into ranges of motion your joints aren't ready to support. A teacher catches that in real time; a video does not. If you're pushing into deeper backbends or inversions, in-person correction protects you from the kind of injury that sidelines a practice for months.
High-heat safety is the other. Practicing at 95°F alone is manageable with the protocols above. Practicing at 105°F alone, without professional ventilation and a trained instructor watching the room, is a different calculation.
Before signing up at any studio, ask these questions:
What is the maximum room temperature and how is it monitored?
What ventilation system is in place?
What are the teacher's credentials and training hours?
What is the emergency protocol if a student feels unwell?
Amritayogawellness offers hot yoga classes in Philadelphia with instructors trained to guide practitioners through safe, progressive heat exposure. If you've built a home practice and want alignment feedback or want to experience supervised high-heat sessions, their step-by-step hot yoga guide is a good starting point before booking a class.
Pro Tip: Ask the studio to let you observe a class before your first session. Fifteen minutes of watching tells you more about the room's heat management and the teacher's style than any website description.
Key Takeaways
A safe, repeatable home hot yoga practice depends on controlling three variables: environment, hydration, and your response to warning signs.
| Point | Details |
|---|---|
| Choose a small room | Smaller spaces heat faster and hold temperature more consistently than open-concept areas. |
| Hydrate hours ahead | Drink 16–20 ounces about two hours before practice; sip steadily all day and use electrolytes after. |
| Use towel plus mat for grip | A full-length microfiber towel over your mat provides better traction than any single non-slip mat feature. |
| Start with 20–35 minute sessions | Short, manageable flows build heat tolerance safely; extend duration only after several consistent sessions. |
| Stop on warning signs | Dizziness, nausea, or visual disturbance means pause, Child's Pose, slow sips, then cooler air — not pushing through. |
The heat is a tool, not the point
Hot yoga at home works best when you treat the heat as a support condition, not the main event. The practice is the movement, the breath, the attention you bring to each pose. The warmth just makes all of it more available.
What tends to go wrong is chasing the studio experience too literally — cranking the room to 105°F, skipping the hydration prep, doing a 60-minute flow on day one. Slow progress in a sustainable practice beats one heroic session followed by two weeks of recovery. A 25-minute flow at 88°F, done three times a week with proper hydration, will build more genuine heat tolerance than an occasional extreme session.
If you hit a plateau at home or want hands-on alignment work, Amritayogawellness is a natural next step. Their resources on hot yoga tips and in-studio classes in Philadelphia offer the kind of feedback a home setup simply can't replicate.
Useful sources and further reading
These are the primary references behind this guide, each worth visiting for a specific reason:
PubMed Central — Hydration and Heat (PMC10542737): The research foundation for the 16–20 oz pre-practice hydration guidance and electrolyte timing.
Hugger Mugger — Hot Yoga at Home: Practical room selection, mat/towel gear advice, and heater placement guidance from a long-standing yoga equipment brand.
HotYoga.site — Safe Setup and Beginner Routine: Session length guidance (20–35 minutes for beginners) and sequencing pacing for home practice.
Yoga Basics — Hot Yoga at Home: Ten practical tips covering room choice, humidity, layering, and outdoor alternatives.
Amritayogawellness — Essential Hot Yoga Safety Tips: In-depth stop-signal guidance and safety protocols specific to hot practice.
Amritayogawellness — How to Prepare for Hot Yoga: Pre-practice preparation steps that complement the hydration and warm-up advice above.