Aerial yoga poses: build flexibility and strength fast
Heather Rice
TL;DR:
Aerial yoga offers low-impact, joint-friendly strength and flexibility benefits supported by scientific studies.Proper equipment, setup, and mindful practice are essential for safety and effective progress.Consistent mastery of foundational poses over time builds lasting strength, flexibility, and mental discipline.
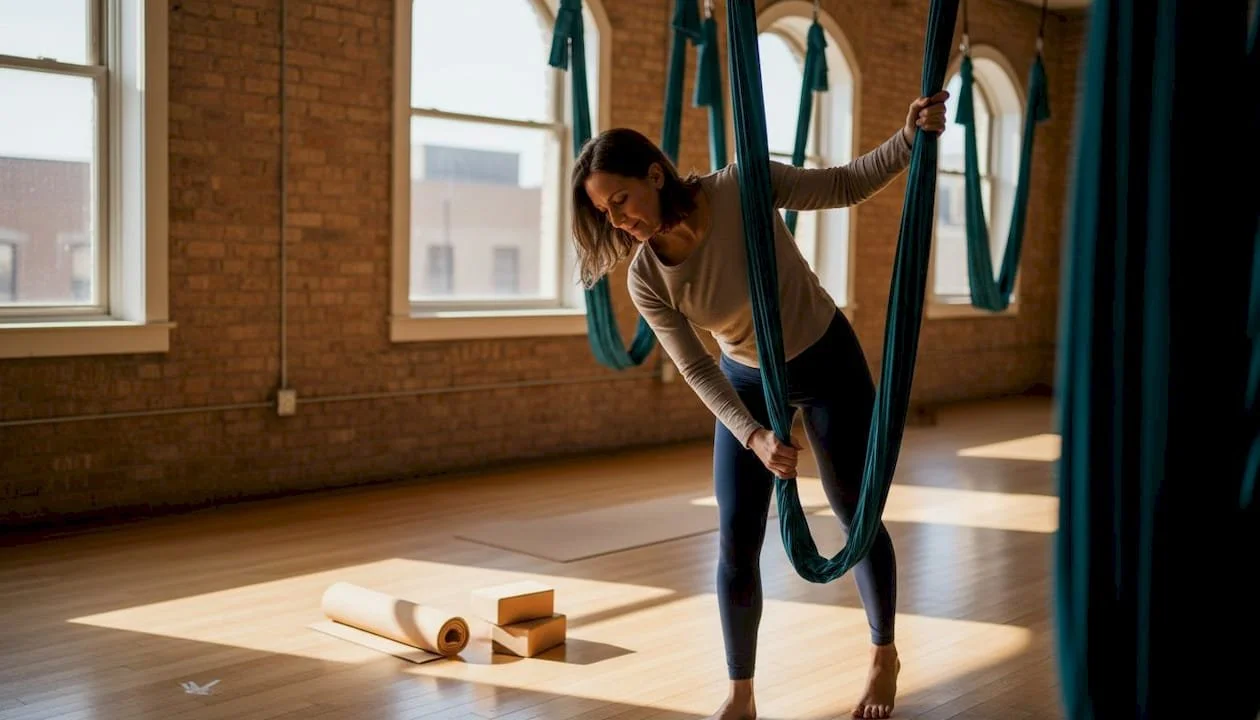
If you've been searching for a workout that's easy on your knees and hips but still challenges your muscles, you're not alone. Many people in Philadelphia want something that feels fresh, not another repetitive gym routine. Aerial yoga beginner poses offer exactly that: a low-impact practice where a fabric hammock supports your body weight, allowing you to move deeper into stretches and build real strength without grinding your joints. Randomized controlled trials show that yoga training improves both strength and respiratory health, and aerial yoga takes those benefits even further by adding suspension and decompression. This guide walks you through everything you need to start safely and see results.
Table of Contents
Key Takeaways
| Point | Details |
|---|---|
| Begin with right gear | Preparation and correct equipment are crucial for safe and confident aerial yoga practice. |
| Master foundational poses | Simple, core beginner poses are best for rapidly building flexibility and strength. |
| Track your gains | Measuring performance over time helps motivate and prove real progress in your abilities. |
| Avoid common mistakes | Awareness and proactive strategies keep you safe and maximize results. |
| Consistency wins | Steady, repeated practice fosters lasting strength and body awareness more than complexity. |
What you need to start aerial yoga
Now that you know aerial yoga can improve strength, here's what you need to get started safely.
Before you attempt a single pose, having the right setup matters enormously. Aerial yoga uses a silk or nylon hammock, sometimes called an aerial silk or yoga swing, suspended from a ceiling anchor or a freestanding rig. The hammock needs to hold at least 300 to 400 pounds to be safe for most adults. You'll also need two locking carabiners to connect the hammock to the rigging hardware, and a yoga mat placed directly beneath the hammock to cushion any dismounts.
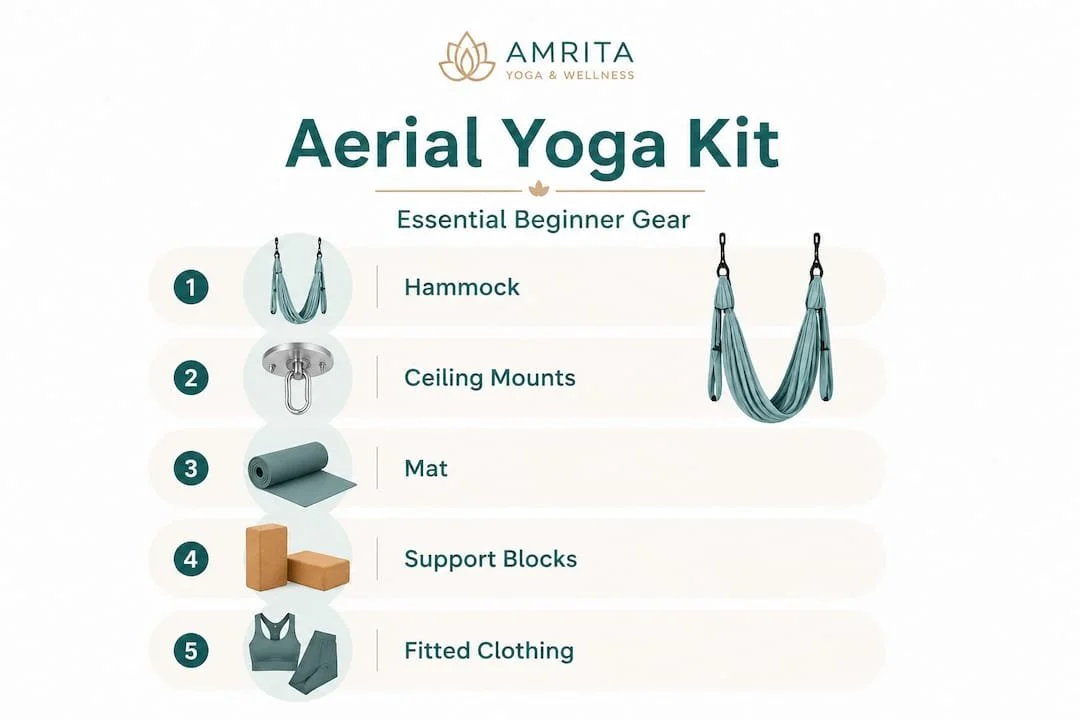
Your attire is just as important as your gear. Wear fitted, full-length leggings and a long-sleeved shirt so the fabric doesn't pinch bare skin during poses. Avoid jewelry, belts, or anything with sharp edges that could snag the hammock material.
Ceiling height is a factor many beginners overlook. You need at least nine to ten feet of clearance from floor to ceiling to hang the hammock low enough for standing poses while still having room to invert safely. If you're practicing at home, have a licensed contractor or rigging professional install the anchor point. A single poorly placed anchor can fail under dynamic load, which is a serious safety risk.
Yoga reduces muscle stiffness and enhances elasticityover time, but only if you prepare your body before each session. A five-minute warm-up of gentle neck rolls, shoulder circles, wrist rotations, and light hip circles primes your connective tissue and reduces the chance of strain. Review the fullaerial yoga equipment checklistbefore your first session to make sure nothing is missing.
Quick-start checklist for your first session:
Aerial hammock rated for at least 300 lbs
Two locking carabiners and appropriate ceiling hardware
Yoga mat placed under the hammock
Fitted, skin-covering clothing
Ceiling clearance of 9 to 10 feet minimum
A spotter or instructor present
Five-minute warm-up completed
| Item | Why it matters | Beginner priority |
|---|---|---|
| Aerial hammock | Supports body weight in all poses | Essential |
| Locking carabiners | Prevents accidental release | Essential |
| Yoga mat | Cushions dismounts and floor work | High |
| Fitted clothing | Prevents skin pinching and fabric snags | High |
| Ceiling anchor | Determines safety of the entire setup | Essential |
| Spotter | Guides alignment and catches falls | Strongly recommended |
Pro Tip: Use a spotter for your first few attempts. Having someone steady the hammock and give real-time feedback on your alignment builds confidence faster than practicing alone and dramatically reduces the risk of awkward falls.
Step-by-step: Foundational aerial yoga poses
Once you're set up and warmed up, you're ready to move into your first aerial yoga poses.
Each pose below is chosen specifically for beginners because it builds body awareness, core engagement, and flexibility without requiring prior gymnastics or dance experience. Take your time with each one. There's no rush to move to the next pose until the current one feels stable and comfortable.
1. Floating Savasana (Aerial Corpse Pose)
This is the gentlest entry point into aerial yoga and a wonderful way to feel the hammock supporting your full body weight.
Set the hammock at hip height.
Sit in the center of the hammock and lean back slowly.
Let your legs drape over the front edge and your arms hang freely at your sides.
Close your eyes, breathe deeply, and allow the hammock to cradle your spine.
Hold for 2 to 3 minutes, focusing on releasing tension in your lower back.
Benefit: Spinal decompression and deep relaxation. This pose immediately shows you how the hammock can take pressure off your vertebrae.
2. Aerial Child's Pose
Stand facing the hammock and place it at hip height.
Drape your torso over the hammock so it rests under your hip bones.
Reach your arms forward toward the floor and let your head hang naturally.
Gently walk your feet back until you feel a stretch through your hips and lower back.
Hold for 30 to 60 seconds, breathing steadily.
Benefit: Hip flexor release and gentle spinal traction. This mirrors the floor version but allows a deeper, gravity-assisted stretch.
3. Supported Plank
Place the hammock at ankle to shin height.
Face away from the hammock and place your shins on top of the fabric.
Walk your hands forward into a plank position, wrists under shoulders.
Engage your core and keep your hips level, not sagging or piking up.
Hold for 20 to 30 seconds, then lower your knees to the floor to rest.
Benefit: Core and shoulder strength. Aerial yoga strengthening moves like this one build functional upper-body stability that carries over into everyday life.
4. Seated Buddha
Lower the hammock to just below knee height.
Sit inside the hammock as if sitting in a swing, with the fabric supporting your sit bones.
Cross your ankles or bring the soles of your feet together in a butterfly position.
Sit tall, lengthen your spine, and rest your hands on your knees.
Hold for 1 to 2 minutes, using the gentle sway to release hip tension.
Benefit: Hip opening and postural alignment. The suspended seat naturally encourages an upright spine without the strain of sitting on a hard floor.
5. Hip Hang
Stand inside the hammock and step both feet through so the fabric rests at hip level.
Lean forward slightly and allow the hammock to support your hip bones.
Let your upper body hang forward toward the floor, arms relaxed.
Breathe slowly and let gravity create traction through your lumbar spine.
Hold for 30 to 45 seconds, then use your core to return upright.
Benefit: Lumbar decompression and hamstring lengthening. Many beginners feel immediate relief in their lower back after this pose.
6. Aerial Low Lunge
Set the hammock at mid-thigh height.
Place your back foot on top of the hammock and step your front foot forward into a lunge.
Keep your front knee directly over your ankle.
Raise your arms overhead and breathe into the hip flexor stretch.
Hold for 20 to 30 seconds per side.
Benefit: Hip flexor and quad flexibility. Building aerial yoga strength through lunges also improves balance and single-leg stability. Empirical evidence links yoga with measurable improvements in both strength and lung function, and these dynamic poses are a big reason why.
"Always focus on steady, controlled movements to prevent injury and maximize benefits."
Pro Tip: Start with shorter holds of 15 to 20 seconds and gradually build to 60 seconds or more over several weeks. Rushing into long holds before your muscles are ready is a fast track to soreness and discouragement.
Common mistakes and how to avoid them
Despite careful preparation, even attentive beginners can make mistakes. Here's how to avoid the most common ones.
Aerial yoga is forgiving in many ways, but a few consistent errors can stall your progress or lead to unnecessary strain. Knowing what to watch for keeps your practice moving forward.
Over-gripping the hammock. When you feel unsteady, the natural instinct is to squeeze the fabric as hard as possible. This creates tension in your forearms, shoulders, and neck that works against the relaxation aerial yoga is meant to produce. Instead, use a firm but relaxed grip and trust the hammock to hold you.
Holding your breath. Beginners often hold their breath during challenging moments, which increases muscle tension and reduces the benefit of each pose. Breathe continuously and use your exhale to release deeper into stretches.
Hammock set too low or too high. A hammock that's too low forces you to scrunch your body awkwardly. One that's too high makes it hard to get in and out of poses safely. Adjust the height for each pose category: hip height for sitting poses, ankle height for plank variations, and so on.
Skipping the warm-up. Cold muscles and connective tissue are far more vulnerable to strain. Yoga training reduces muscle stiffness over time, but that protection builds gradually. Until then, a proper warm-up is non-negotiable. Explore more aerial yoga techniques to understand how warm-up routines fit into a full session.
Neglecting alignment. Sloppy alignment in aerial yoga can put uneven stress on your joints. For example, in Supported Plank, letting your hips sag strains your lower back. Always check that your joints are stacked correctly before settling into a hold.
"Focusing on slow, mindful movements reduces the risk of strain and injury."
Pro Tip: If you feel sharp pain rather than a productive stretch, exit the pose immediately and reassess your setup or alignment. Pain is your body's signal that something is off, not a cue to push harder.
How to track your progress and results
After starting and refining your form, it's important to recognize how your flexibility and strength grow with practice.
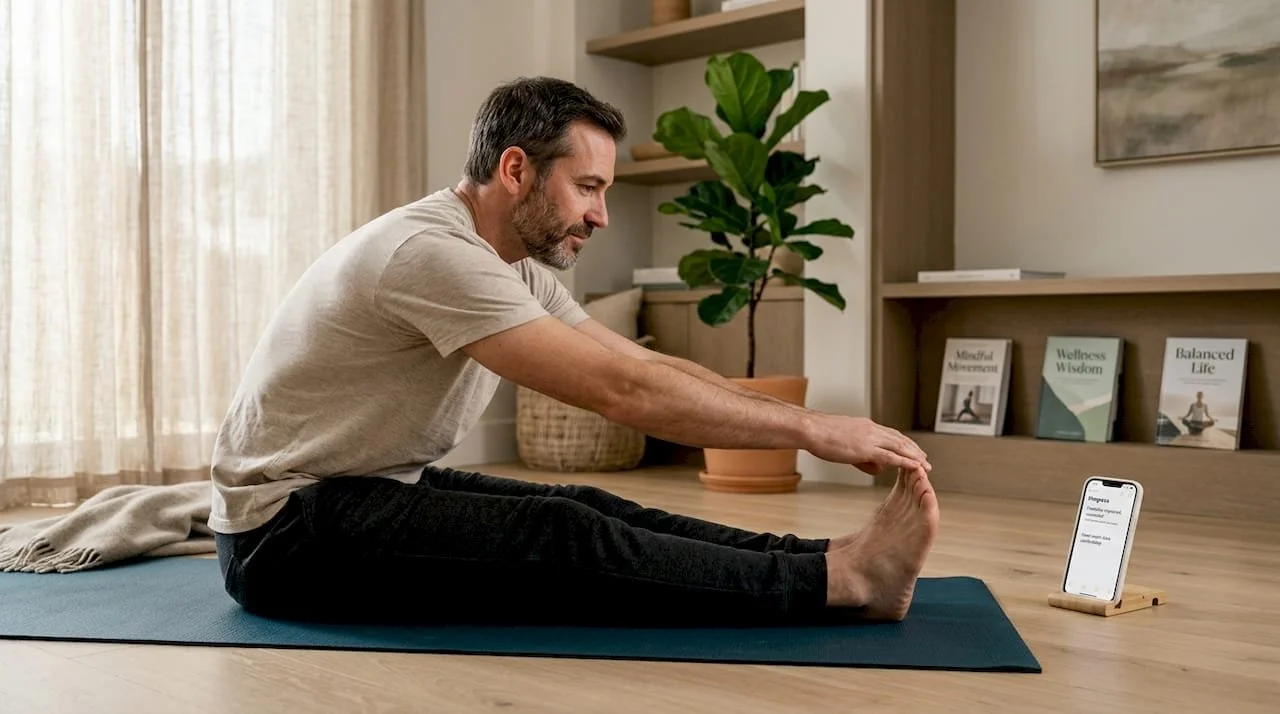
Progress in aerial yoga can feel subtle at first, especially if you're used to weight-based fitness where numbers on a barbell tell you exactly how you're improving. But the gains are real and measurable. Yoga training improves handgrip strength and flexibility in as little as 12 weeks of consistent practice, which means you have a clear timeline to work toward.
Use this simple tracking table to log your progress weekly:
| Metric | Week 1 baseline | Week 4 | Week 8 | Week 12 |
|---|---|---|---|---|
| Floating Savasana hold (minutes) | 1 min | 2 min | 3 min | 4+ min |
| Forward reach (inches past toes) | 0 in | 1 in | 2 in | 3+ in |
| Supported Plank hold (seconds) | 15 sec | 25 sec | 40 sec | 60 sec |
| Sessions per week | 1 | 2 | 2 to 3 | 3 |
Beyond the numbers, pay attention to these qualitative progress signals:
Poses that felt shaky now feel stable and controlled
You breathe more easily during holds instead of bracing
New poses feel less intimidating to attempt
Your posture improves throughout the day, not just during practice
Getting in and out of the hammock feels natural rather than awkward
You don't need any special equipment to self-assess. Sit on the floor with your legs extended and reach toward your toes. Mark where your fingertips land. Check again every four weeks. For grip strength, notice how long you can hold a plank or support your weight in a hanging pose before your hands fatigue. These simple checks give you honest feedback without any gym equipment.
Tracking your Yoga Wellness Benefits over time also keeps you motivated. When you can see that your flexibility has genuinely improved, it reinforces the habit of showing up consistently. Read more about building aerial yoga strength for lasting flexibility to understand how these gains compound over months of practice.
Why simple, consistent practice beats complexity in aerial yoga
Armed with ways to measure your progress, let's zoom out for an honest look at what actually works for beginners in aerial yoga.
Here's something most beginner guides won't tell you: the biggest obstacle isn't learning advanced poses. It's the temptation to skip ahead before the basics are solid. We see this constantly with new students. They watch an aerial yoga video online, get inspired by an inverted split or a spinning cocoon pose, and then feel frustrated when they can't replicate it after two sessions. That frustration leads to quitting, which is the worst possible outcome.
The truth is that mastering five foundational poses, truly mastering them to the point where your alignment is automatic and your breathing stays calm, builds more strength and flexibility than cycling through twenty poses with poor form. Science backs this up. The measurable improvements seen in controlled studies come from repeated, methodical practice over weeks, not from variety or novelty.
Experienced instructors consistently see the best results in students who embrace patience. The student who comes twice a week, works the same six poses, and focuses on going one centimeter deeper each session outperforms the student who tries something new every class. Consistency creates the neuromuscular patterns your body needs to move safely and efficiently in the hammock.
This is also why the real impact on wellness from aerial yoga goes beyond the physical. When you commit to a simple, consistent practice, you build mental discipline and body awareness that carry into every area of your life. That's the deeper value that no trick pose can give you.
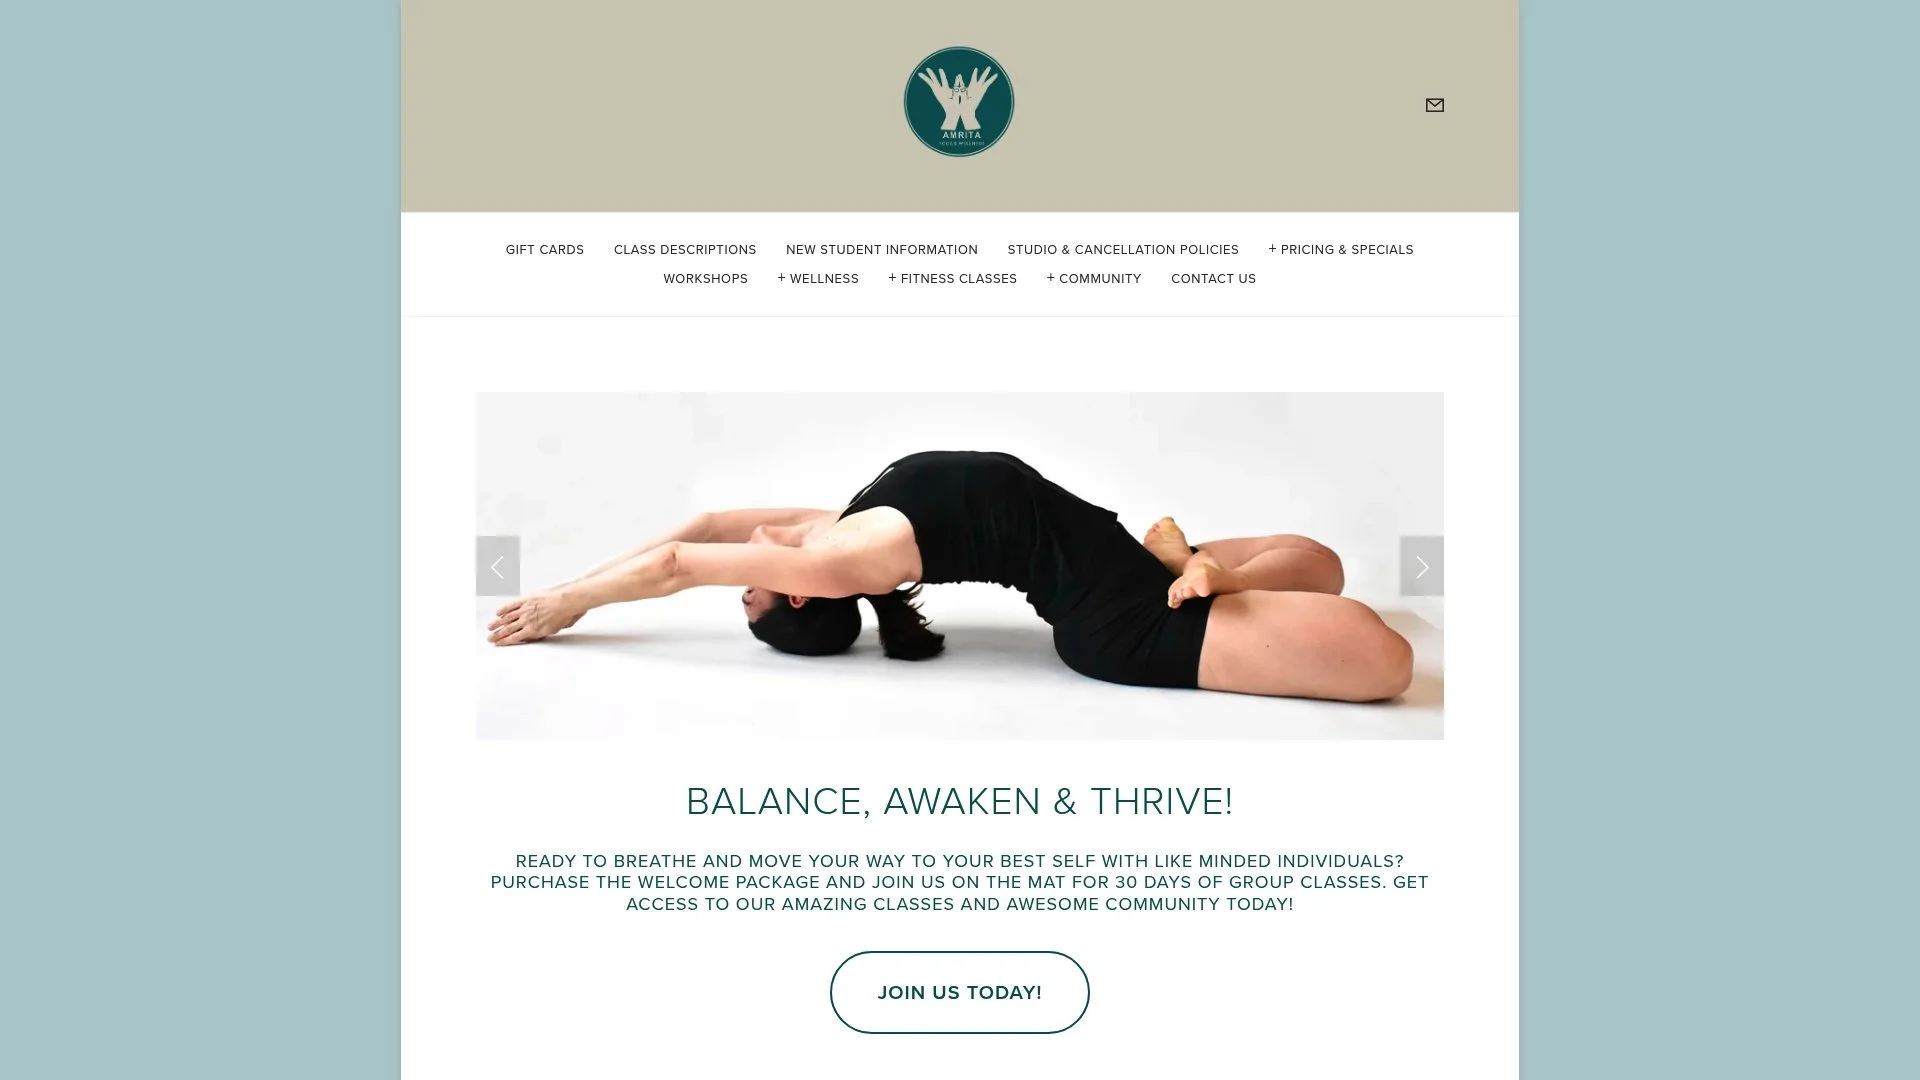
Ready to try aerial yoga? Start your journey in Philadelphia
If you're ready to get started or take your aerial yoga practice further, local guidance can make all the difference.
At Amrita Yoga & Wellness, we offer beginner-friendly aerial yoga classes in a safe, welcoming environment right here in Philadelphia. Our instructors guide you through proper setup, alignment, and progression so you build real strength and flexibility from your very first session.
Beyond aerial yoga, our studio offers a full range of wellness experiences including hot yoga, pilates, barre, tai chi, and massage therapy. We also host community events and workshops, including tarot readings, for those who want to explore holistic well-being beyond the mat. Whether you're a complete beginner or returning after a long break, our community is here to support your growth. Check our class schedule and reserve your spot today.
Frequently asked questions
Can anyone do aerial yoga poses as a beginner?
Yes, most healthy adults can start aerial yoga, but it's important to use proper equipment and begin with beginner-friendly poses under qualified instruction.
How quickly will I see results in strength or flexibility?
Yoga training improves handgrip strength and flexibility within 8 to 12 weeks of consistent practice, so you can expect noticeable changes within about three months.
Is aerial yoga safe for my joints?
When practiced with proper safety precautions, aerial yoga is gentle on joints because the hammock reduces compression. Yoga training reduces muscle stiffness and musculoskeletal strain over time, making it a strong choice for joint-friendly fitness.
What if I feel dizzy or strained during aerial yoga?
Exit the pose slowly, return to standing or seated, and rest before continuing. Always listen to your body and avoid pushing through discomfort, especially in inverted positions.
Recommended
building aerial yoga strength — Blog — Amrita Yoga & Wellness
Building Aerial Yoga Strength for Lasting Flexibility — Amrita Yoga & Wellness
Improving Aerial Yoga Flexibility Naturally: A Step-by-Step Guide — Amrita Yoga & Wellness
Aerial Yoga Strengthening Moves for Total Body Power — Amrita Yoga & Wellness