Start Practicing Yoga Safely: 10–20 Minute Routines for Beginners
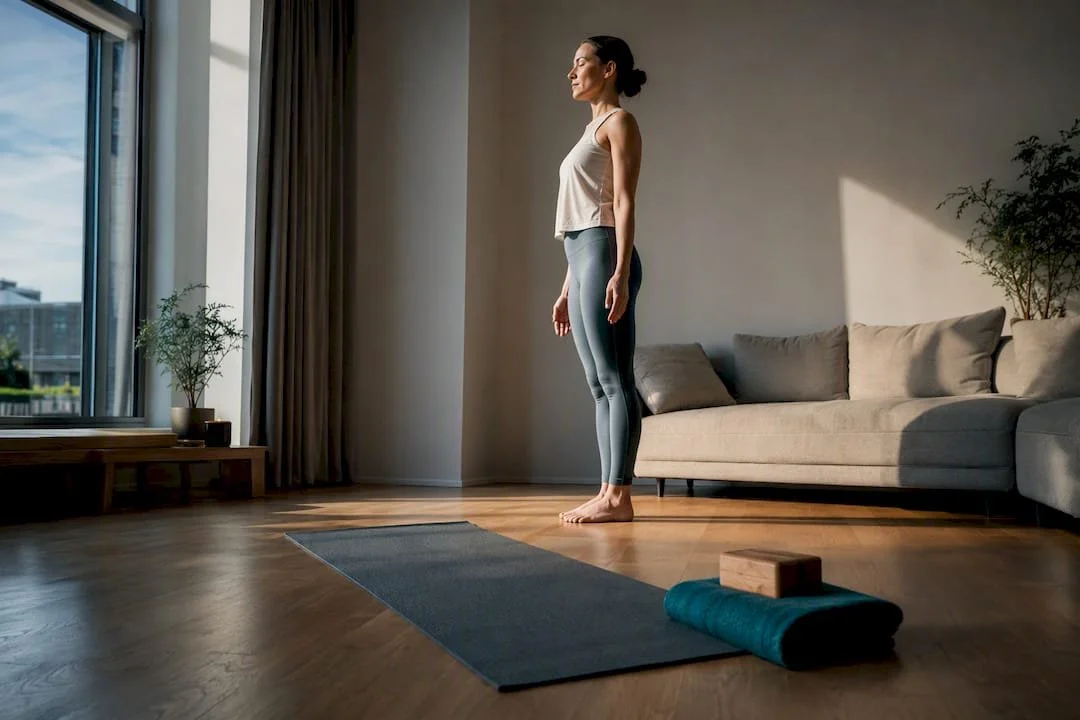
Start with one 10 to 20 minute session this week: pick a beginner-friendly style like Hatha or gentle flow, follow a short guided routine, and pay more attention to your breath and joint alignment than how deep you stretch. Move within your own comfort range, stop the moment you feel joint pain rather than muscle stretch, and don't worry about how long you practice. Showing up twice this week beats one perfect hour.
TL;DR:
Starting with two 10-minute sessions focusing on breath and alignment helps prevent injury and build confidence before progressing to longer practice.
Home practice is accessible and cost-effective but benefits from occasional instructor guidance to correct alignment and prevent developing bad habits.
Essential poses like mountain, downward dog, and warrior II provide foundational shapes that teach proper body mechanics and prevent strain.
Modifications such as bending knees or using household props make poses accessible and safe for beginners with limited flexibility or balance.
Consistency of short, manageable practice sessions over four weeks is more effective for building skill and confidence than infrequent, lengthy sessions.
Table of Contents
How to start yoga: home practice, studio class, or virtual sessions
Breathing and alignment basics to learn before anything else
How to start yoga: home practice, studio class, or virtual sessions
The right starting format depends less on discipline and more on what kind of feedback you need. Home practice wins on flexibility and cost. You can roll out a mat during a lunch break with no drive, no schedule, no audience. But nobody is watching whether your knee caves inward in warrior II.
Studio classes solve that blind spot. A teacher walking the room catches misalignment before it becomes a habit, which matters most in your first few weeks. Virtual and live-streamed classes sit in the middle: you get instruction and pacing, but no hands-on correction.
Here's a quick way to decide:
Recovering from injury or unsure about a health condition? Book a private session or beginner studio class first.
Comfortable moving your body and mainly want convenience? Home practice with a recorded beginner routine works fine.
Want structure without cost? Try a hybrid: one studio or virtual class weekly, plus short home sessions.
Looking for something gentle? Restorative yoga or chair yoga beats a fast-paced flow for a true first exposure.
Hatha and slow flow classes are usually the gentlest entry points because poses are held longer, giving you time to think through alignment instead of chasing a rhythm you don't know yet.
Setting up a home space and the gear you actually need
You don't need a home studio. You need about six feet of clear floor, ideally near a wall for balance poses, in a spot quiet enough that you're not stepping around a dog or a kid's toy mid pose.
Clear the space. Six feet by four feet is plenty. Push furniture back so you're not catching a table corner in downward dog.
Get a mat or a thick towel. A yoga mat is worth the $20 to $40 investment eventually, but a folded towel on carpet works for your first sessions.
Add water within reach. You'll want it, especially in warmer rooms or hot yoga styles.
Grab household substitutes for props. A hardcover book or two stacked works as a block; a bathrobe belt or necktie substitutes for a strap; a folded blanket cushions your knees in kneeling poses.
Wear clothes you can move in. Nothing restrictive at the hips or shoulders.
Keep gear in one bin or corner. Removing the setup step is what actually makes you practice on a busy Tuesday.
A dedicated, clutter-free space with minimal equipment is genuinely enough to start. Anything more is optional polish, not a requirement.
Breathing and alignment basics to learn before anything else
Most new practitioners fixate on how a pose looks and ignore the two things that actually make yoga work: breath and alignment. Get these right first and everything else improves faster.
Breathe through your nose in a slow, steady rhythm, and pair breath with movement: inhale as you lift or open the chest, exhale as you fold or release. This pairing is standard across beginner guidance because it naturally slows you down and keeps you from rushing transitions.
Alignment basics matter just as much:
Keep your spine neutral rather than arched or collapsed.
Stack joints directly over each other (wrists under shoulders, knees over ankles).
Use a soft micro-bend in the knees and elbows instead of locking them straight.
Check yourself in a mirror or a phone video occasionally; it's the fastest way to catch a habit you can't feel from the inside.
Instructor-led alignment work early in your practice reduces injury risk and makes your practice sustainable long term, which is exactly why a class or two in your first month pays off even if you mostly practice at home.
Pro Tip: If a pose creates a pulling sensation along a muscle, that's a stretch. If it creates a sharp or pinching feeling in a joint, that's pain. Back off immediately when it's the second one.
Core beginner poses to learn first
These eight poses show up in almost every beginner class for a reason: they teach the fundamental shapes your body will use in nearly everything else. Yoga Journal and clinical guides both point to this same foundational set.
Mountain pose. Stand tall, feet hip-width apart, weight even across both feet. Mistake to avoid: locking the knees. Modification: stand with your back against a wall to feel a neutral spine.
Cat-cow. On hands and knees, arch and round your spine with the breath. Mistake: moving too fast. Modification: place a folded blanket under the knees.
Downward dog. Hips lift up and back, hands shoulder-width apart. Mistake: flat back with straight legs forcing a rounded spine. Modification: bend the knees generously.
Plank with knee option. Shoulders over wrists, body in one line. Modification: drop to the knees to reduce load.
Warrior II. Front knee bent over the ankle, arms extended. Mistake: letting the front knee drift past the toes. Modification: shorten your stance.
Tree pose. Foot rests on the standing leg, hands at heart or overhead. Modification: keep the toes of the lifted foot on the floor for balance.
Forward fold. Hinge from the hips, not the waist. Modification: bend the knees generously or hold blocks under the hands.
Child's pose. Hips back toward heels, arms extended forward. This is your rest pose anytime you need one.
Hold each pose for 3 to 5 breaths rather than watching a clock. Save backbends and any inversion (headstand, shoulder stand) for guided instruction. Attempting those alone in week one is where most avoidable injuries happen.
Simple routines to follow right now
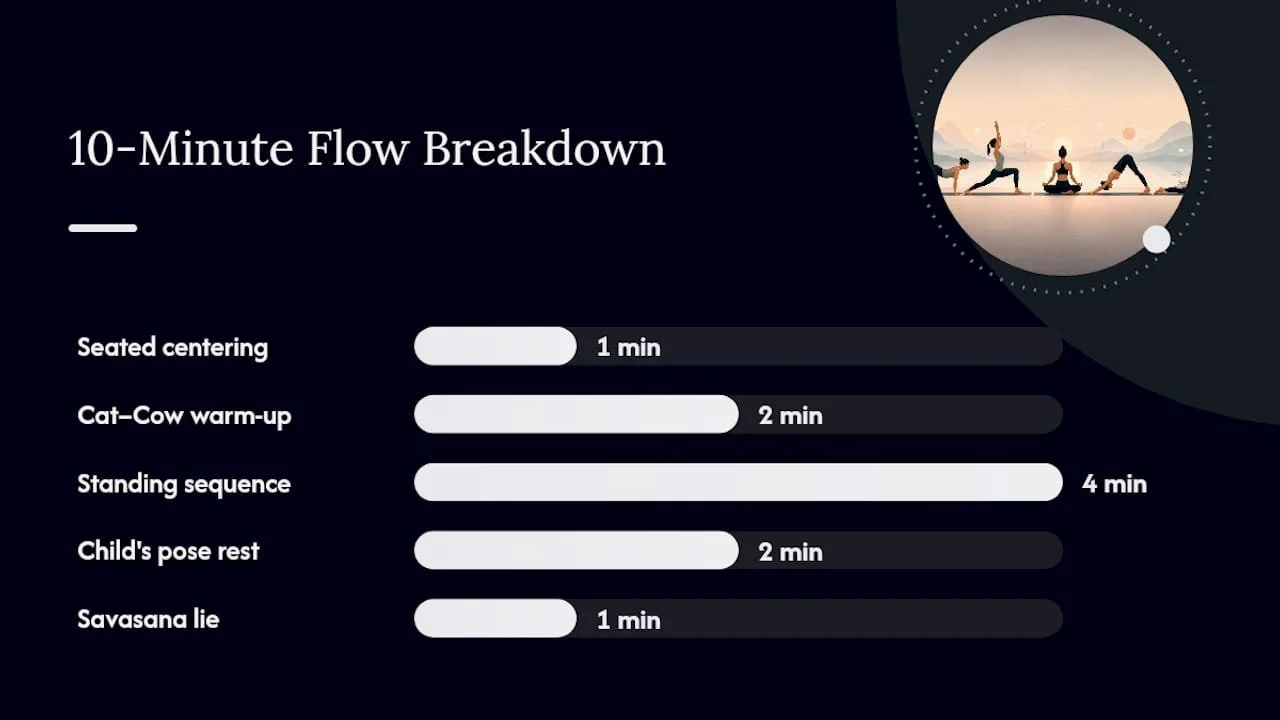
You don't need to design a sequence from scratch. Here's a 10-minute flow you can do today:
1 minute: Seated, eyes closed, slow breathing.
2 minutes: Cat-cow, 8 to 10 rounds.
4 minutes: Mountain pose into forward fold, downward dog, plank with knees down, repeat twice.
2 minutes: Child's pose.
1 minute: Lying flat, savasana.
For a 20 to 25 minute session, add warrior II on both sides and tree pose, and hold each standing pose slightly longer as your comfort grows. This is a natural progression once the 10-minute version feels easy.
A typical beginner studio class follows a nearly identical arc at a larger scale: centering and breathwork, a warm-up, a standing sequence, floor work, cool-down, and savasana, usually across 60 minutes. Knowing that structure in advance means nothing in your first class will feel unpredictable.
Pressed for time? Cut the routine down to just the standing sequence and savasana. A short session done consistently beats a long one done rarely.
Safety rules and when to bring in a professional
Certain sensations mean stop immediately, not push through:
Sharp or pinching joint pain, especially in the knees, lower back, or wrists.
Dizziness or lightheadedness.
Unusual shortness of breath outside of normal exertion.
Common, safe modifications solve most beginner discomfort: a chair for balance poses, blocks to bring the floor closer to your hands, or knees down instead of a full plank.
If you're managing arthritis, recovering from surgery, or have another chronic condition, talk with a healthcare professional before starting so your routine fits your actual limitations, not a generic one.
Pro Tip: When you're unsure whether you can handle a pose as shown, take the easier modification. You can always progress next week; you can't undo a strained joint.
Choosing your first class and studio etiquette
Look for classes explicitly labeled Beginner, Foundations, or Gentle. Check the class length and description before booking. A 45-minute Gentle Hatha class and a 75-minute Vinyasa flow are not interchangeable first experiences.
Arrive 10 minutes early and tell the teacher you're new; this lets them watch your alignment and offer modifications during class.
Mention any injuries or physical limitations before the class starts, not mid-pose.
Studios typically provide mats and blocks; bring your own water bottle and a small towel.
If you have a specific concern, like an old injury, a private session gets you individual attention a group class can't.
A 4-week starter plan that actually sticks
Consistency beats intensity for beginners. Two to three sessions of 15 to 30 minutes per week builds real skill without burning you out before month two.
Week 1: Two 10-minute home sessions, focused purely on breath and the eight foundational poses.
Week 2: Three sessions, adding warrior II and tree pose. Consider one studio or virtual class.
Week 3: Extend two sessions to 20 minutes; keep one at 10 for busy days.
Week 4: Three sessions at 20 to 25 minutes; notice which poses feel easier than week one.
Anchor practice to an existing habit, like right after brushing your teeth, and lay out your mat and clothes the night before so there's no decision to make in the morning.
Many beginners notice a calming effect after the very first session, better sleep within a couple of weeks, and real flexibility gains by weeks four to eight of consistent practice. Soreness in week one is normal; sharp pain is not.
Who's behind this guide, and where to practice next
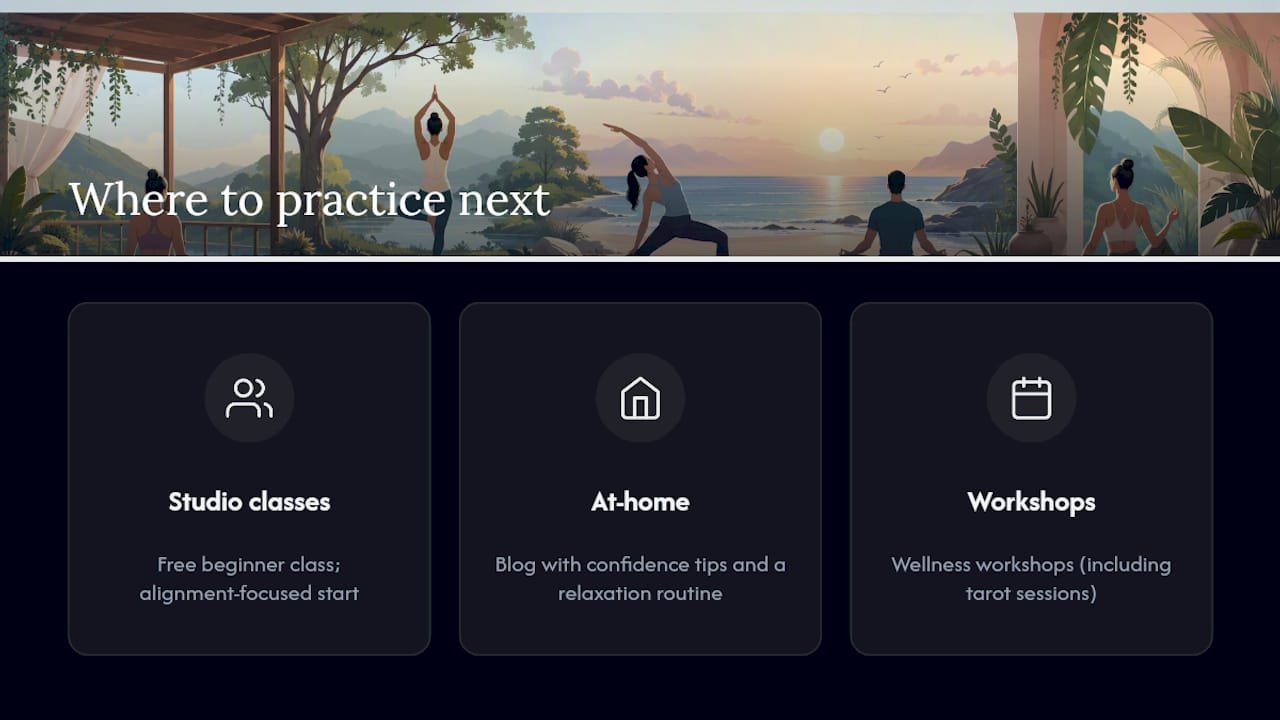
This guide comes from Juiced, a contributor covering practical, safety-first guidance for Amrita Yoga & Wellness. The recommendations here draw on clinical safety sources and established beginner curricula, not guesswork, because a first yoga experience should build confidence rather than risk an injury that ends it early.
Amrita Yoga & Wellness runs beginner classes designed around exactly this kind of gradual, alignment-focused start, including a free beginner class for anyone trying yoga for the first time. If you'd rather build confidence at home first, the studio's blog covers confidence-building tips for new practitioners and a ready-made relaxation routine you can follow tonight.
If breathwork and stillness practices interest you beyond the mat, Amrita Yoga & Wellness also hosts wellness workshops, including tarot reading sessions, for readers who want to build a broader self-care routine alongside their physical practice.
A teacher's honest take on your first month
Most beginners I've seen come into a first class convinced they're too stiff, too uncoordinated, or too far behind to belong there. Almost none of that turns out to be true. The people who stick with yoga aren't the naturally flexible ones. They're the ones who showed up twice a week even when the poses felt clumsy.
The single most useful thing you can do tonight has nothing to do with poses: lay your mat out and set your clothes by the door before bed. Removing that morning decision is what actually gets people onto the mat on day three, when motivation alone usually fails.
If you want a low-pressure way to test the waters, the free beginner class exists for exactly this reason: to let you find out what your body can do before you decide anything else.
— Juiced