Beginner Aerial Yoga Poses: Build Strength and Flexibility
TL;DR:
Most beginner aerial yoga poses rely on the hammock to support and deepen stretches, making the practice accessible regardless of flexibility or strength. Proper setup, including hammock height and clothing, combined with gradual progression and foundational poses, ensures safety and builds trust in the support system. Consistent practice focused on core poses develops the necessary strength, flexibility, and body awareness, laying a solid foundation for advanced moves over time.
If you've been curious about beginner aerial yoga poses but worried that you're not flexible enough or strong enough to get started, you're not alone. Most people walk into their first aerial yoga class with exactly that fear. Here's what actually happens: the hammock does most of the heavy lifting, making traditional yoga poses more accessible and deeper from your very first session. This guide walks you through everything you need to start safely, from setting up your hammock to five foundational poses you can practice right away.
Table of Contents
Key takeaways
| Point | Details |
|---|---|
| No flexibility needed | The hammock supports your body so beginners can achieve deeper stretches safely from day one. |
| Hammock height matters | Set the hammock at your hip crease for optimal safety and support in every foundational pose. |
| Dress for the fabric | Fitted leggings that cover your knees protect against hammock pressure points and skin irritation. |
| Start slow, stay consistent | Practice 2 to 3 times per week and spend the first few weeks mastering foundational poses only. |
| Stop at discomfort | Step out of any pose that causes dizziness or sharp discomfort. Progression is earned gradually. |
Equipment and preparation basics
Before you attempt a single pose, your setup and habits will determine how safe and enjoyable aerial yoga feels. This is the part most beginner guides gloss over, and it's where most early frustration comes from.
Getting your hammock height right
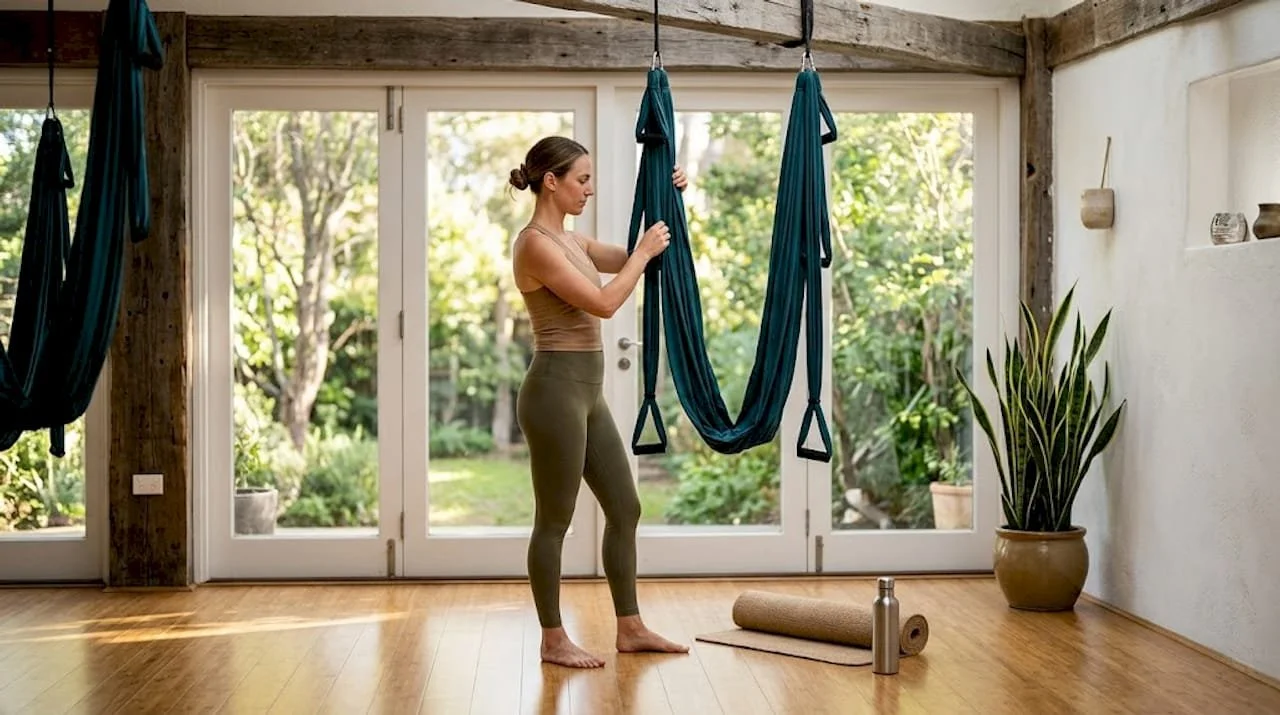
Hammock height at hip creaseis the foundational rule you'll hear in every aerial yoga guide for beginners, and for good reason. Too high and you'll struggle to get in and out of poses. Too low and you lose the support that makes the practice both safe and effective. Stand in front of the hammock and adjust the fabric so it rests directly at the fold of your hip. That position supports most beginner poses without modification.
If you're practicing at a studio, an instructor will set this for you. If you're setting up at home, check out this aerial yoga equipment checklist from Amritayogawellness to make sure your rigging and hardware are rated for aerial use before you ever leave the ground.
What to wear and how to prepare your body
Fitted leggings prevent chafing from hammock pressure points, particularly around the knees, inner thighs, and underarms. Skip shorts. Skip loose pants that bunch up. A fitted long-sleeve top is also worth considering if your arms will be bearing weight.
Here's a quick preparation checklist before every session:
Remove all jewelry, including rings and bracelets, before touching the hammock
Avoid eating a heavy meal in the 1 to 2 hours before practice to prevent nausea during inversions
Hydrate well in advance but avoid drinking large amounts right before class
Do a 5 to 10 minute floor warm-up to prepare your joints and sense your body's baseline
Pro Tip: Run the hammock fabric between your hands before practice. This brief sensory check helps your nervous system get familiar with the texture and tension before your full body weight goes into it.
| Preparation factor | Recommended approach |
|---|---|
| Hammock height | Hip crease level for most beginner poses |
| Clothing | Fitted leggings covering knees, close-fit top |
| Meal timing | Avoid eating 1 to 2 hours before practice |
| Warm-up | 5 to 10 minutes of floor mobility work |
| Jewelry | Remove all items before practice |
5 step-by-step beginner aerial yoga poses
Beginner aerial classes typically progress from floor-aided stretches to standing hammock-assisted poses before any full suspension. These five poses follow that same logic. Work through them in order during your first several sessions.
Pose 1: Supported downward dog
Stand facing the hammock with the fabric at hip height.
Place both hands on the fabric and walk your feet back until your body forms an angled "V" shape.
Press into the hammock with straight arms and draw your hips up and back.
Hold for 5 to 8 breaths, feeling your hamstrings and spine lengthen with the hammock's resistance.
This pose is where most people feel the hammock's power for the first time. The fabric creates gentle traction along your spine that a floor-based downward dog simply cannot replicate.
Pose 2: Floating pigeon pose
Sit on the hammock as if it were a swing, with the fabric supporting your hips.
Bring your right shin parallel to the front edge of the hammock and let the fabric hold your weight.
Keep your left leg extended behind you with the foot resting lightly on the floor.
Fold forward gently over your right shin and hold for 6 to 10 breaths before switching sides.
Benefit: Opens the hips and glutes without compressing the knee joint the way floor pigeon does.
Modification: Keep both feet touching the floor for stability until you feel confident in the hammock.
Pose 3: Cocoon inversion
Sit in the hammock and pull the fabric up over your head so your body is gently wrapped.
Allow yourself to tilt backward slowly until your head hangs below your hips.
Let the hammock take your full weight. Your arms can rest at your sides or cross over your chest.
Breathe slowly for 3 to 5 breaths, then use your core to return to upright.
This is most people's first true inversion. Because the hammock wraps around your entire body, beginners build trust with inversions through this pose before attempting anything more exposed.
Pro Tip: If you feel any pressure in your head or ears during the cocoon inversion, come up slowly and take 2 to 3 seated breaths before trying again. Dizziness that persists means you're done with inversions for that session.
Pose 4: Superman pose
Stand behind the hammock and place it across your hip bones.
Tip your body forward, letting your legs lift off the ground behind you.
Extend your arms forward like you're flying, keeping your core gently engaged.
Hold for 4 to 6 breaths, squeezing through your glutes and upper back to maintain the line.
This is one of the most underrated basic aerial yoga positions for beginners. It strengthens the posterior chain (your glutes, back extensors, and shoulder stabilizers) without any impact, making it a great complement to the forward-folding work in the other poses.
Pose 5: Aerial corpse pose (Savasana)
Sit in the hammock and hold both sides of the fabric.
Lean back slowly until the hammock cradles your full body from head to hips.
Let your arms drop, close your eyes, and allow the fabric to rock you gently.
Stay here for 3 to 5 minutes to close your session.
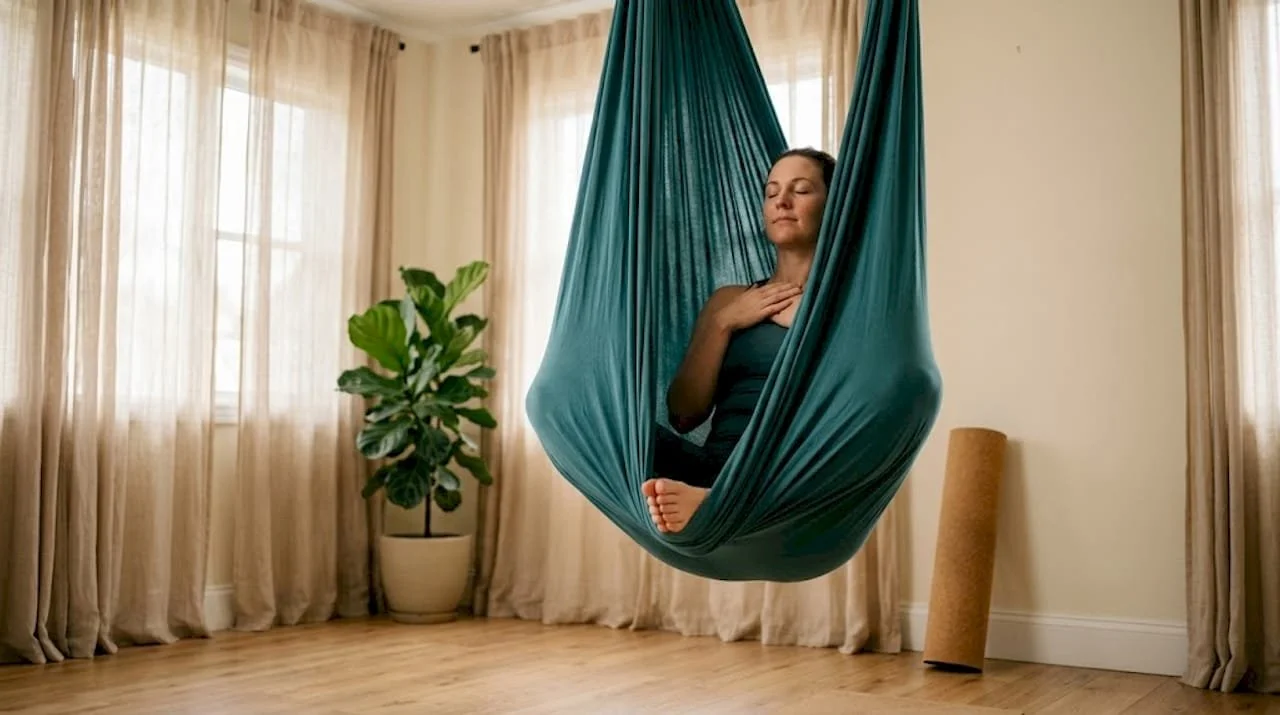
Aerial Savasana promotes deeper relaxationcompared to floor-based Savasana because the gentle compression and rocking activate your parasympathetic nervous system more directly. It's not just a nice ending. It's a physiologically distinct recovery state.
| Pose | Primary benefit | Ground contact needed? |
|---|---|---|
| Supported downward dog | Spinal traction, hamstring stretch | Yes (hands) |
| Floating pigeon | Hip opener, glute release | Yes (one foot) |
| Cocoon inversion | First inversion, full body relaxation | No |
| Superman pose | Back strength, posterior chain | No |
| Aerial Savasana | Spinal decompression, nervous system reset | No |
Common beginner mistakes to avoid
Even with a great set of step-by-step aerial yoga poses in hand, beginners consistently trip on the same few patterns. Knowing them in advance saves you frustration and protects your body.
The biggest error is moving too fast. After a few sessions of supported poses, the urge to try advanced inversions or drops is real. Resist it. Focusing on core foundational moves for 2 to 3 weeks builds the strength and proprioception that advanced poses actually require. Rushing creates bad habits and increases injury risk significantly.
Skin irritation is another predictable issue that beginners treat as a surprise. The hammock fabric concentrates pressure at contact points. If your inner knees are red and sore after class, it is not because aerial yoga is wrong for your body. It is because your clothing left those areas exposed. Long fitted leggings that cover the knee solve most of this.
Here are the other patterns worth watching:
Holding your breath during poses, especially inversions. Breath is your anchor. If your breathing gets shallow or stops, so should your movement.
Gripping the hammock with white-knuckle tension. Trust develops gradually. Practice releasing grip tension intentionally between holds.
Skipping the warm-up. Cold joints plus sudden weight-bearing aerial positions is a recipe for tweaks and pulls.
Comparing your early progress to anyone else's timeline.
"Beginner-friendly means supportive, not necessarily easy. Mastering balance and body awareness is the real focus of your first weeks."
Pro Tip: Keep a simple practice log after each session. Note which poses felt stable, which created discomfort, and how long you held inversions. This data helps you progress intentionally rather than by guesswork.
Building a beginner aerial yoga routine
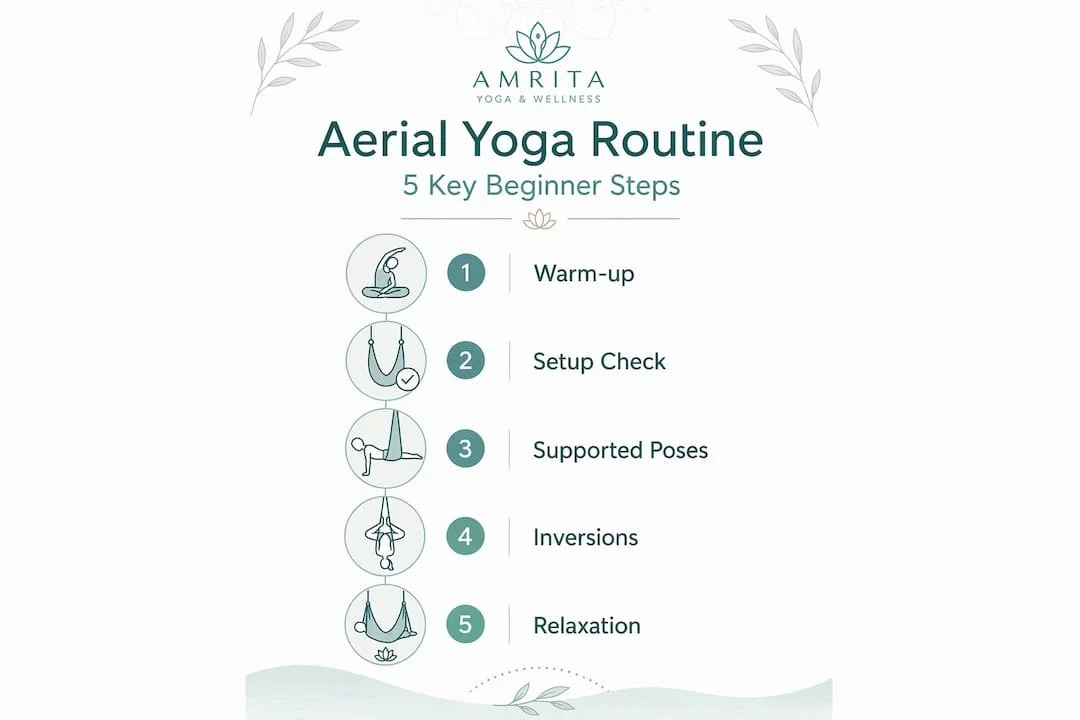
A consistent practice schedule matters more than how perfect your poses look. Here is how to structure your first month as a practical aerial yoga for beginners guide:
Weeks 1 and 2: Practice 2 times per week. Focus only on the five foundational poses above. Spend extra time in the cocoon inversion and Superman pose to build hammock trust and posterior strength.
Week 3: Add a third session per week. Introduce a 10 minute floor warm-up before every session. Begin holding each pose 2 to 3 breaths longer.
Week 4: Try sequencing the five poses in order without breaks between them. Notice what flows naturally and where your transitions feel awkward.
Practicing 2 to 3 times per week is the sweet spot for building strength and body memory without overloading your connective tissue, which adapts more slowly than muscle.
| Session component | Duration | Purpose |
|---|---|---|
| Floor warm-up | 8 to 10 minutes | Joint prep, body awareness |
| Foundational poses | 25 to 30 minutes | Strength, flexibility, balance |
| Aerial Savasana | 4 to 5 minutes | Recovery, nervous system reset |
| Optional journaling | 3 to 5 minutes | Progress tracking and reflection |
For deeper aerial yoga strength guidance, Amritayogawellness has a dedicated resource on developing the core and upper body capacity that makes these sessions progressively more rewarding.
My honest take on starting aerial yoga
I'll be direct about something I've seen repeatedly: the people who get the most out of aerial yoga in their first month are almost never the most athletic ones in the room. They are the ones willing to stay in a pose that feels slightly weird, breathe through the discomfort of unfamiliar sensation, and come back the next session anyway.
When I first experienced the fabric around my hips during Superman pose, my instinct was to bail out. It felt strange and vaguely unstable. What I've learned since is that the sensation of instability is actually your proprioceptive system learning. That weirdness is the training effect. The biggest misconception out there is that flexibility unlocks aerial yoga. It's the other way around. Aerial yoga develops flexibility because the hammock lets your body move into ranges of motion it would otherwise protect itself from reaching on a flat floor.
What I'd tell any beginner is this: do not chase the advanced poses you see on social media. Chase the feeling of your body learning to trust a new kind of support. That trust builds something you carry with you into every other physical practice you do, aerial or not. And the five poses in this guide are genuinely enough to create that foundation if you work them with intention for four weeks.
— Amritayogawellness
Start your aerial yoga practice with Amrita Yoga & Wellness
Ready to take these foundational moves off the screen and into a real hammock? Amrita Yoga & Wellness in Philadelphia offers beginner-friendly aerial yoga classes designed around exactly this kind of progressive, safety-first approach. Whether you are walking in with zero yoga experience or coming from a traditional mat-based practice, their instructors meet you where you are.
Classes are structured to give you hands-on guidance through the same foundational aerial yoga poses for beginners covered here, with expert eyes on your alignment and hammock setup from the start. Explore the full class offerings at Amritayogawellness and book a beginner session that fits your schedule. You can also check out their aerial yoga beginner guide for additional resources to support your practice between classes.
FAQ
What are the best beginner aerial yoga poses to start with?
The five most beginner-friendly poses are supported downward dog, floating pigeon, cocoon inversion, Superman pose, and aerial Savasana. These build hammock trust, foundational strength, and flexibility progressively without requiring prior yoga experience.
Do I need to be flexible to start aerial yoga?
No. The hammock acts as a structural support that makes poses accessible from your first session, regardless of your current flexibility level. Flexibility develops as a result of practice, not a prerequisite for it.
How often should beginners practice aerial yoga?
Practicing 2 to 3 times per week is the recommended frequency for beginners. This builds strength and body memory while giving connective tissue adequate recovery time between sessions.
What should I wear to my first aerial yoga class?
Wear fitted leggings that cover your knees and a close-fitting top. Loose clothing bunches in the hammock and bare skin at pressure points like the knees and inner thighs leads to irritation and chafing.
Is aerial yoga safe for complete beginners?
Yes, when practiced with proper hammock setup and foundational progressions. Beginning with low-to-ground poses before full suspension, wearing appropriate clothing, and working with a qualified instructor significantly reduces risk for new practitioners.